After I built my wooden window cornices for our kitchen nook, I had plenty of scrap wood leftover. I used some of it to build another cornice for my baby girl’s nursery and more to build a couple of planter boxes for my succulents.
I mirrored the planter boxes I made for my oldest daughter’s teachers for Teacher’s Appreciation week. (If you want to see how I made those click here). But, instead of 1×4 pine, white wood, cedar etc. boards that those plans call for, my scraps were from 1×12 common board.
The scrap wood pieces I used to make the planter boxes for my succulents were “mistake cuts”. Meaning I broke the #1 rule in following plans for builds…measure twice, cut once (lesson learned). I didn’t find this out until I added the 1×4 that goes on the top of the cornice (see the wooden window cornice post), and the end pieces were too short. So, before I could start assembling the planter boxes, I had to fill in the pocket holes I’d made to the end pieces that attached to the front of the cornice with wood filler.

All of the pieces are about 3 inches wide. The two long sides and bottom of each planter measures about 12 inches long.
The short ends are about 2 inches long? (Don’t mind me measuring the wrong side in the pic below. I should’ve been in bed at this point, but I was determined to at least get the planter box assembled)

I assembled the whole piece with wood glue and my Ryobi brad nailer. And sanded it down with my hand sander with 150 grit sand paper to get a smooth surface for staining/painting and because I wanted the edges rounded. (Again, to see assembly instructions, click here. The only difference is the kind and size of wood I used, but the assembly is the same.)
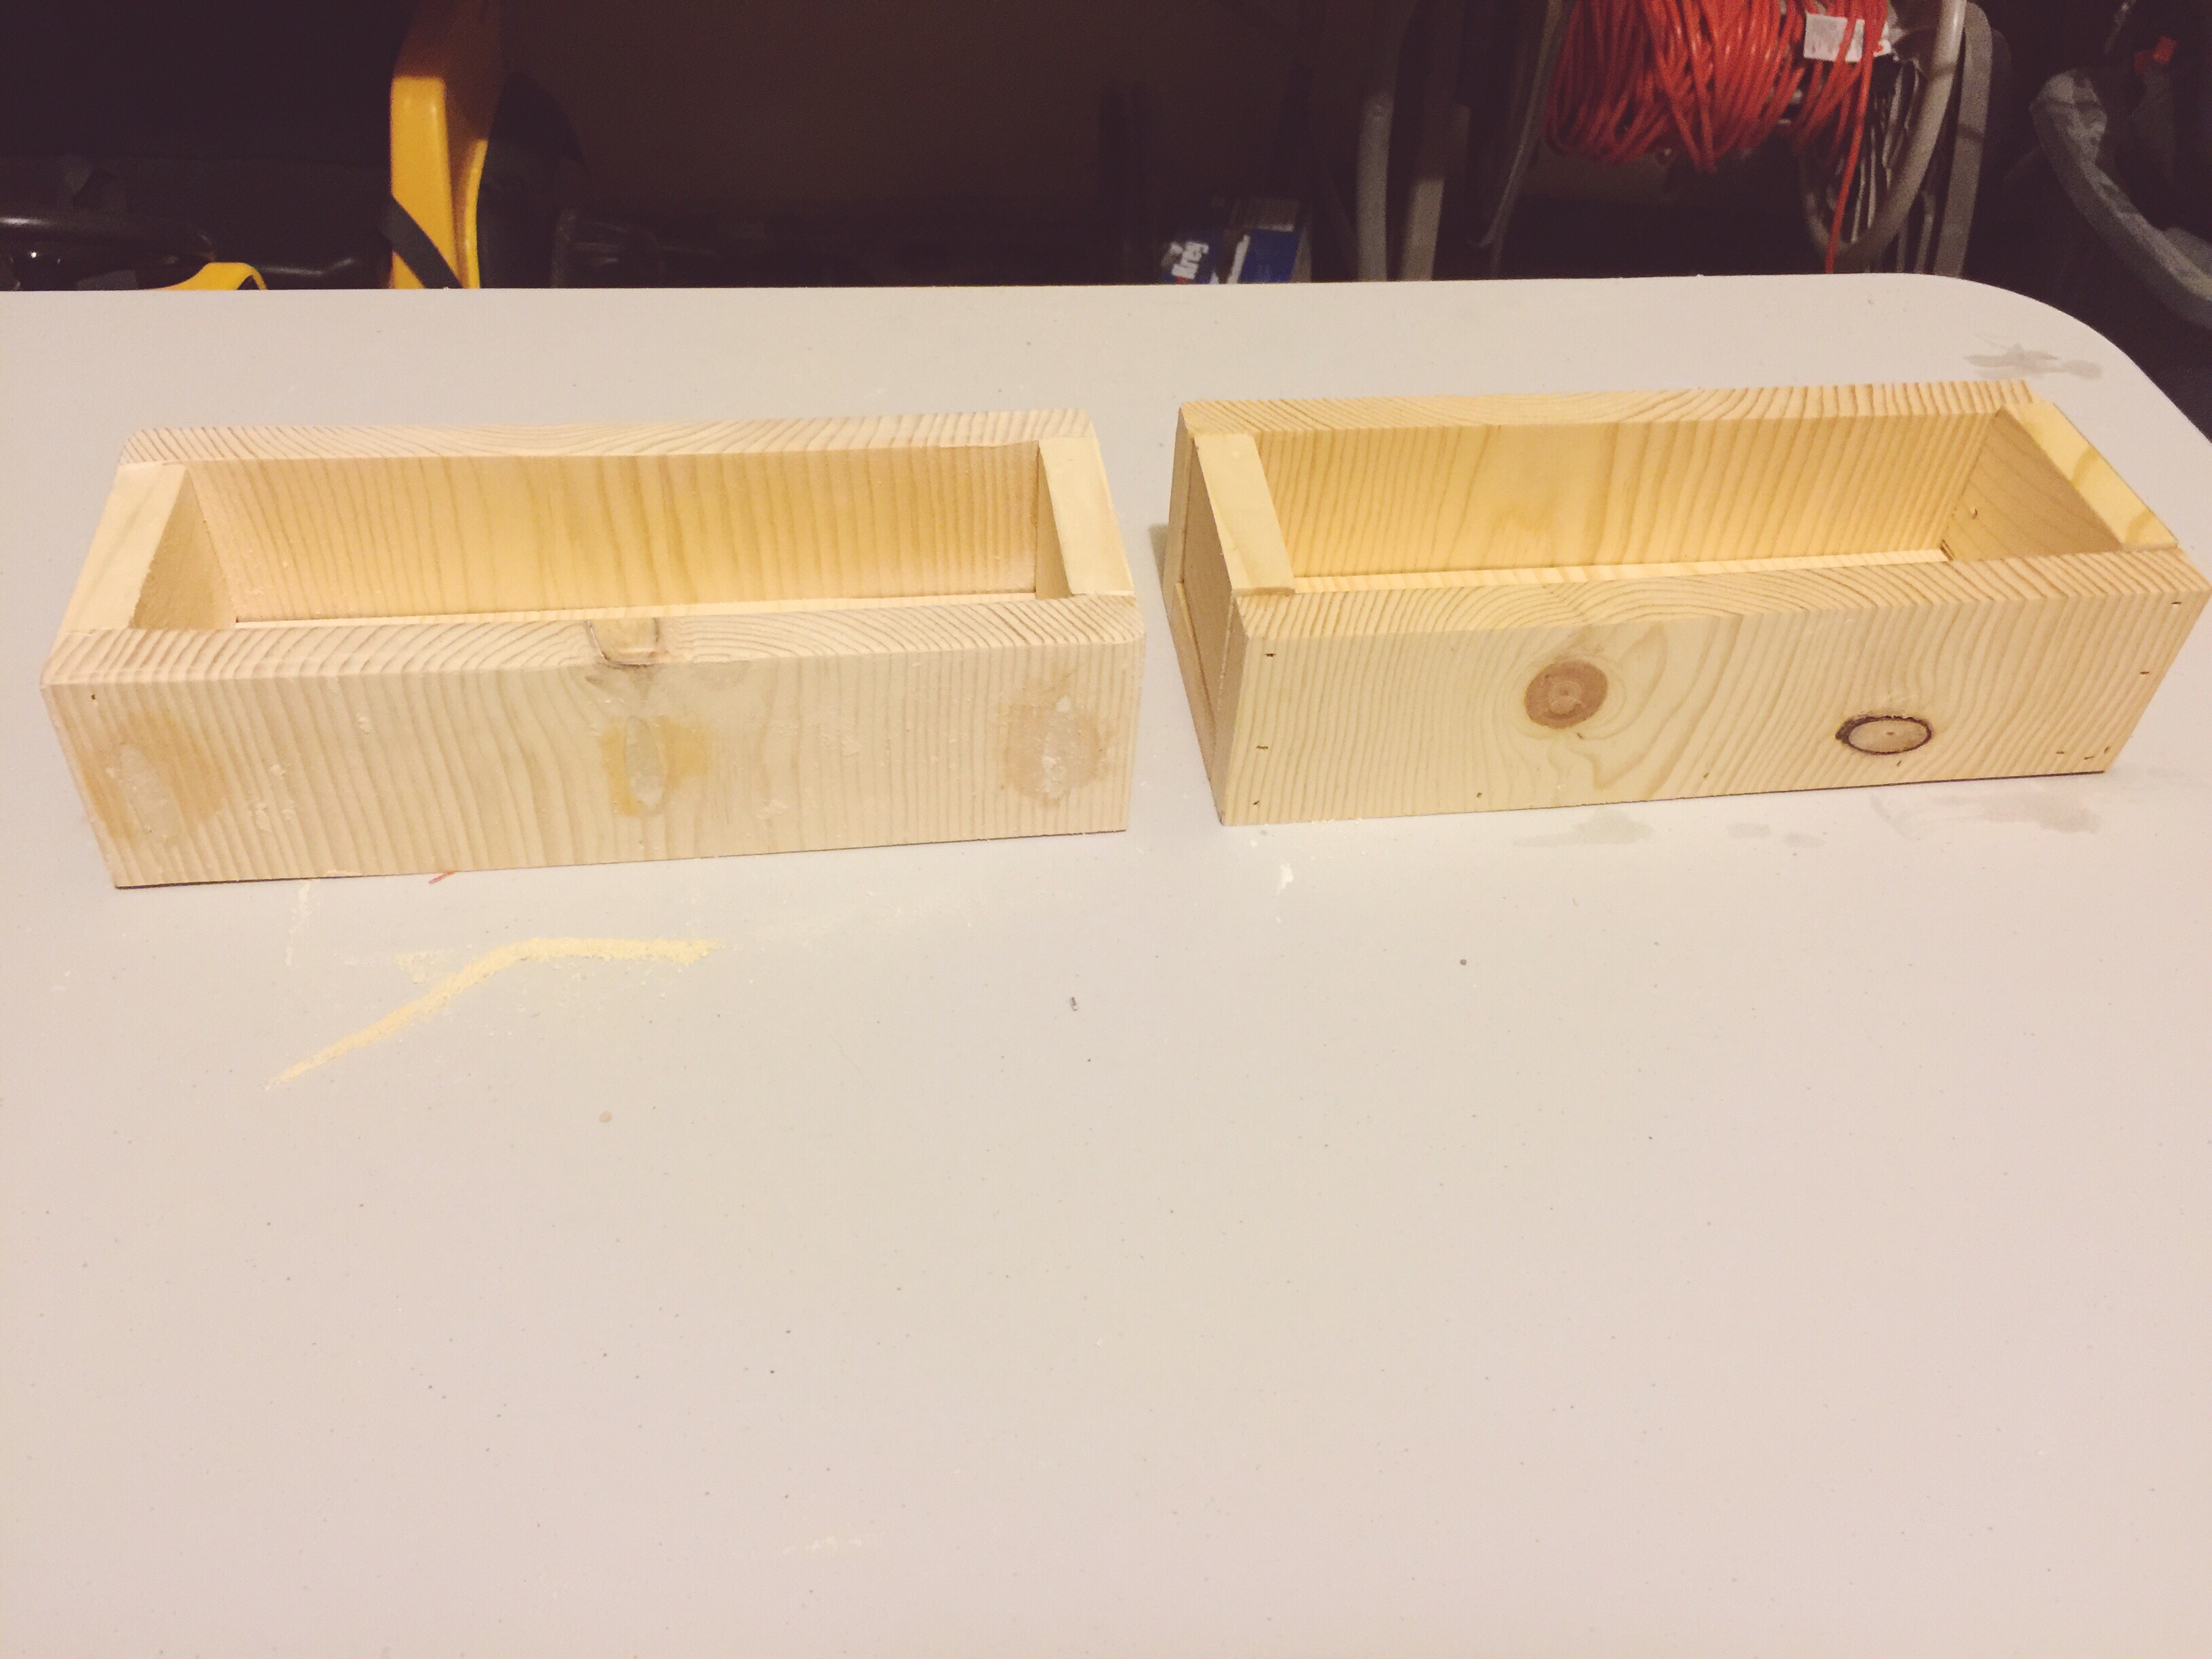
You can see the difference between the right, which is sanded and has rounded edges, and the left, which isn’t. And, let’s pause for a sec to admire that beautiful wood grain pattern!!…………….ok, I’m back.
After sanding both, I wiped all of the dust and debris away using a damp cloth to prep for finishing. I used one of my favorite combos, Miniwax weathered oak stain with a white wash. For the white wash, I use Valspar’s medium base chalky finish paint. Just buy as is, no tint.
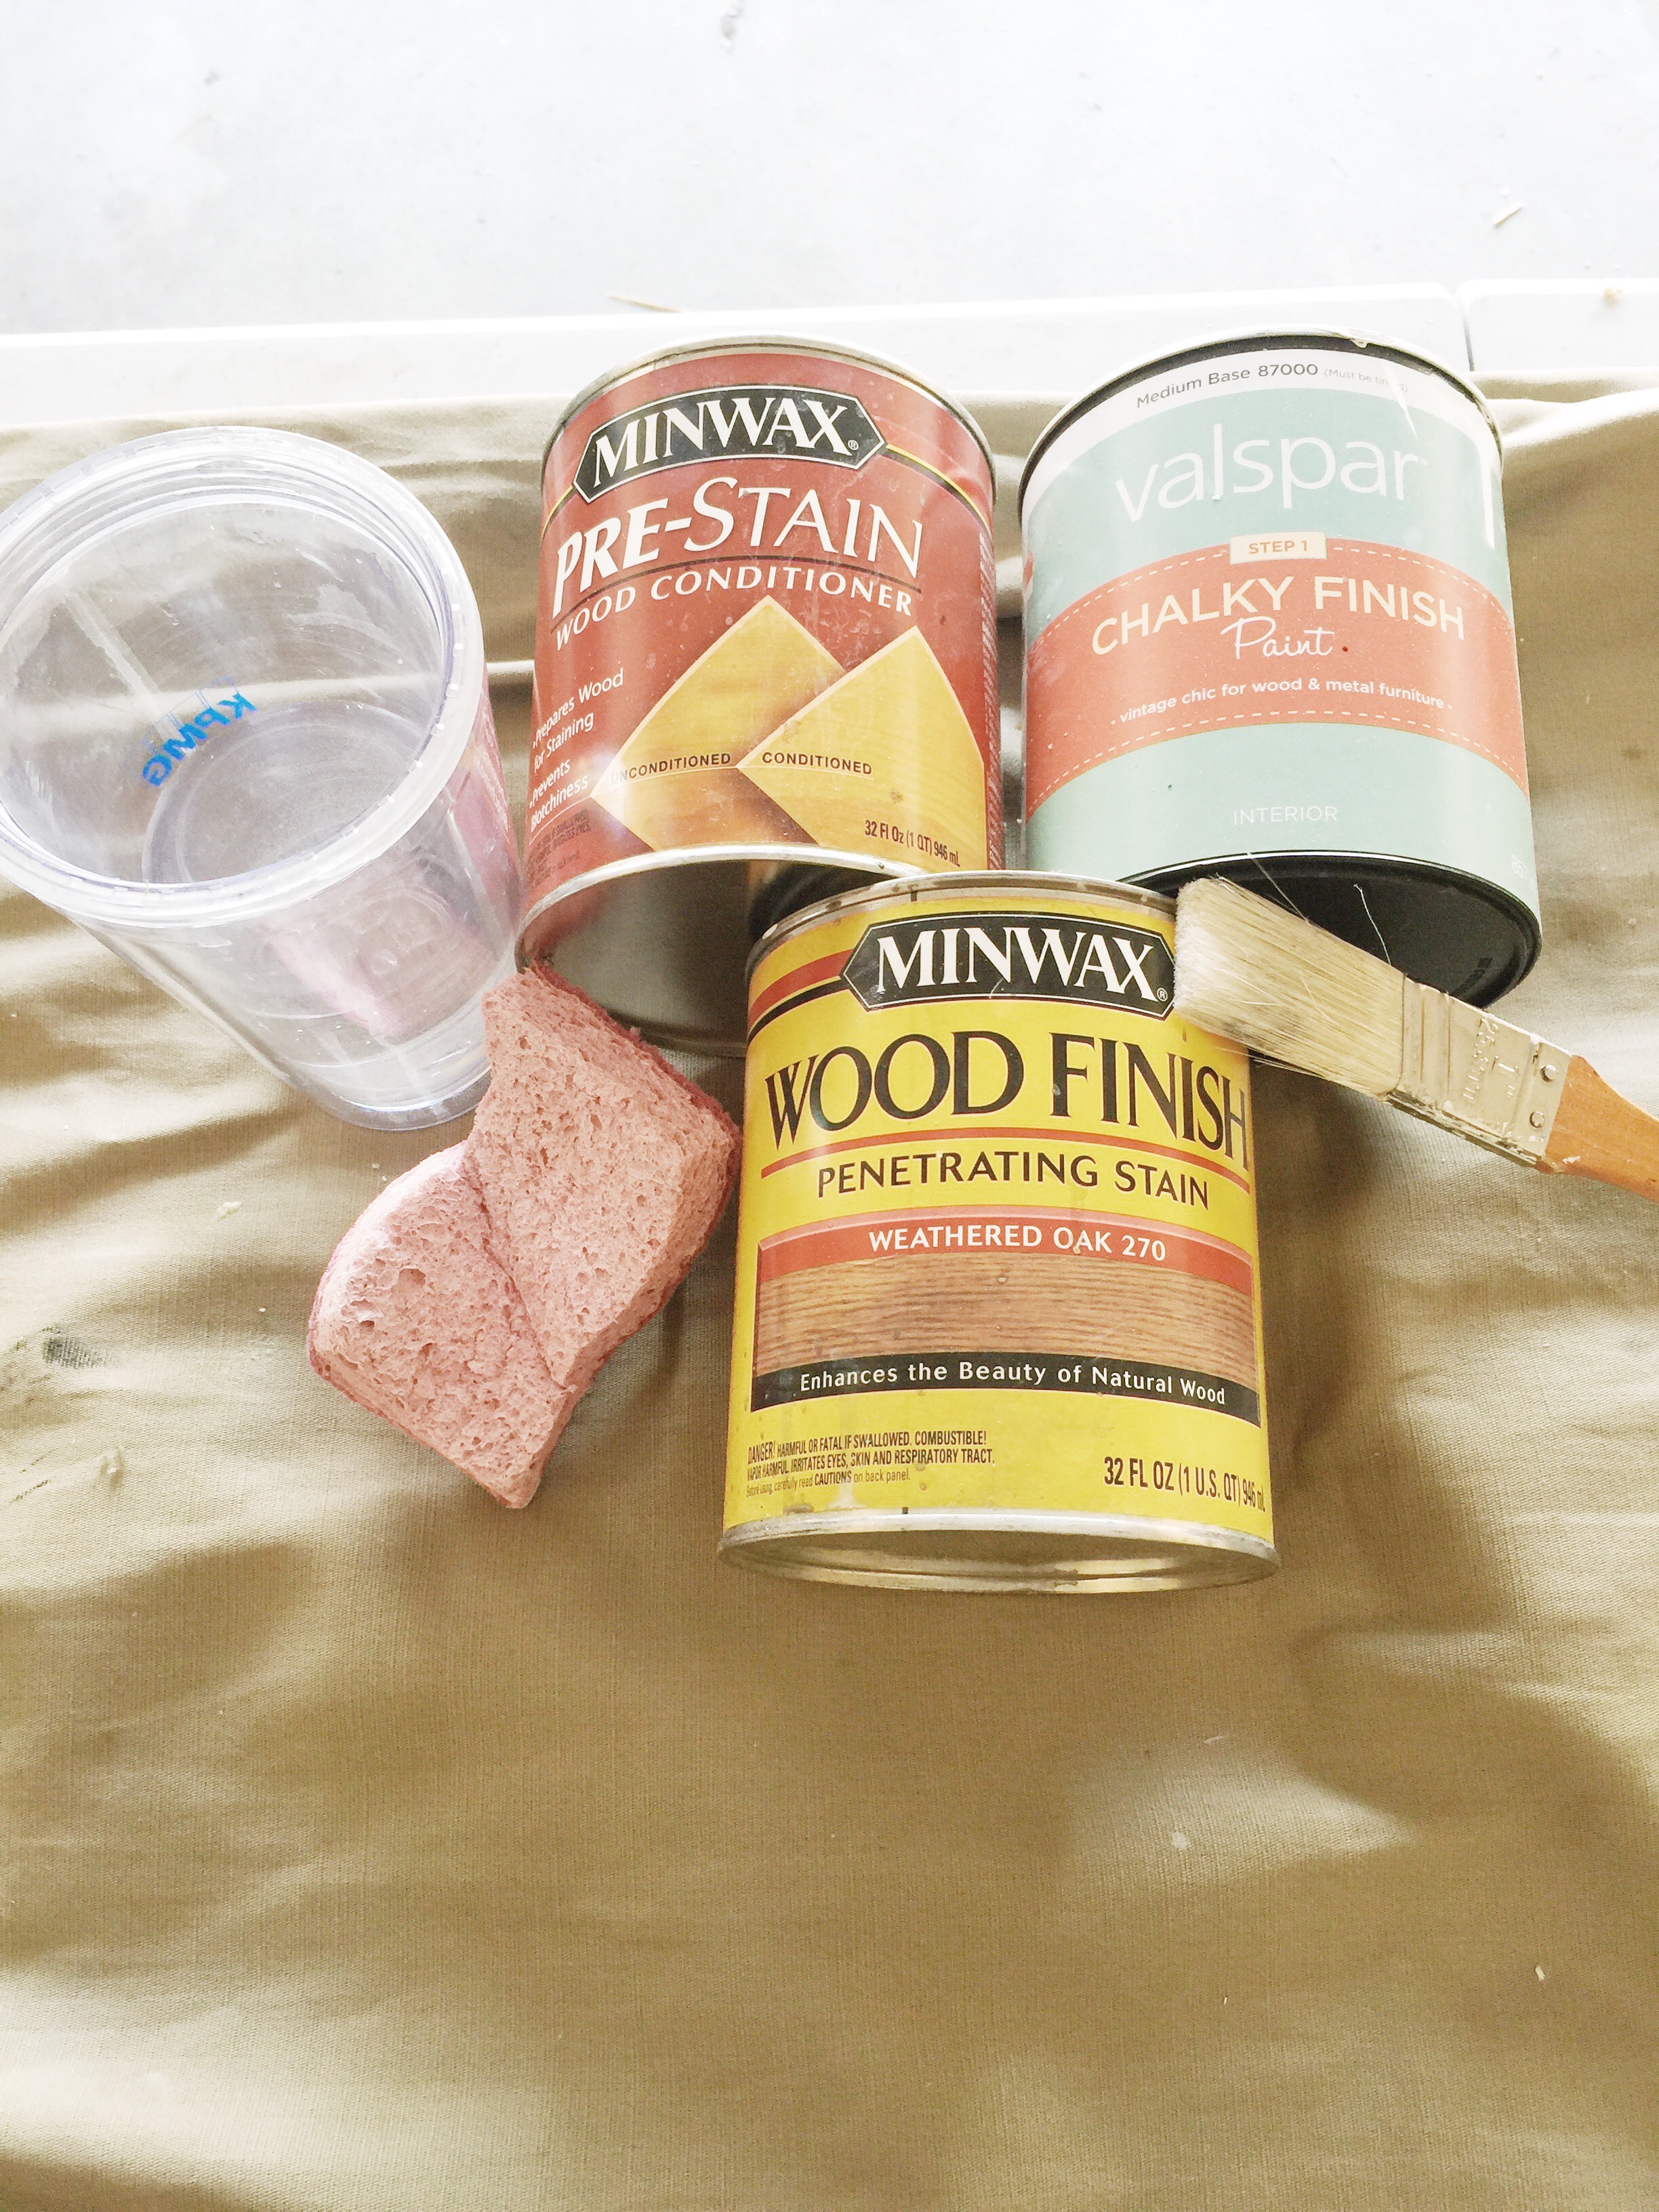
I always apply wood conditioner before I stain. It really does make a difference. You reduce/eliminate those blotchy spots that sometimes forms if you just apply the stain without the conditioner. Then, I stained the entire piece. Let it dry..
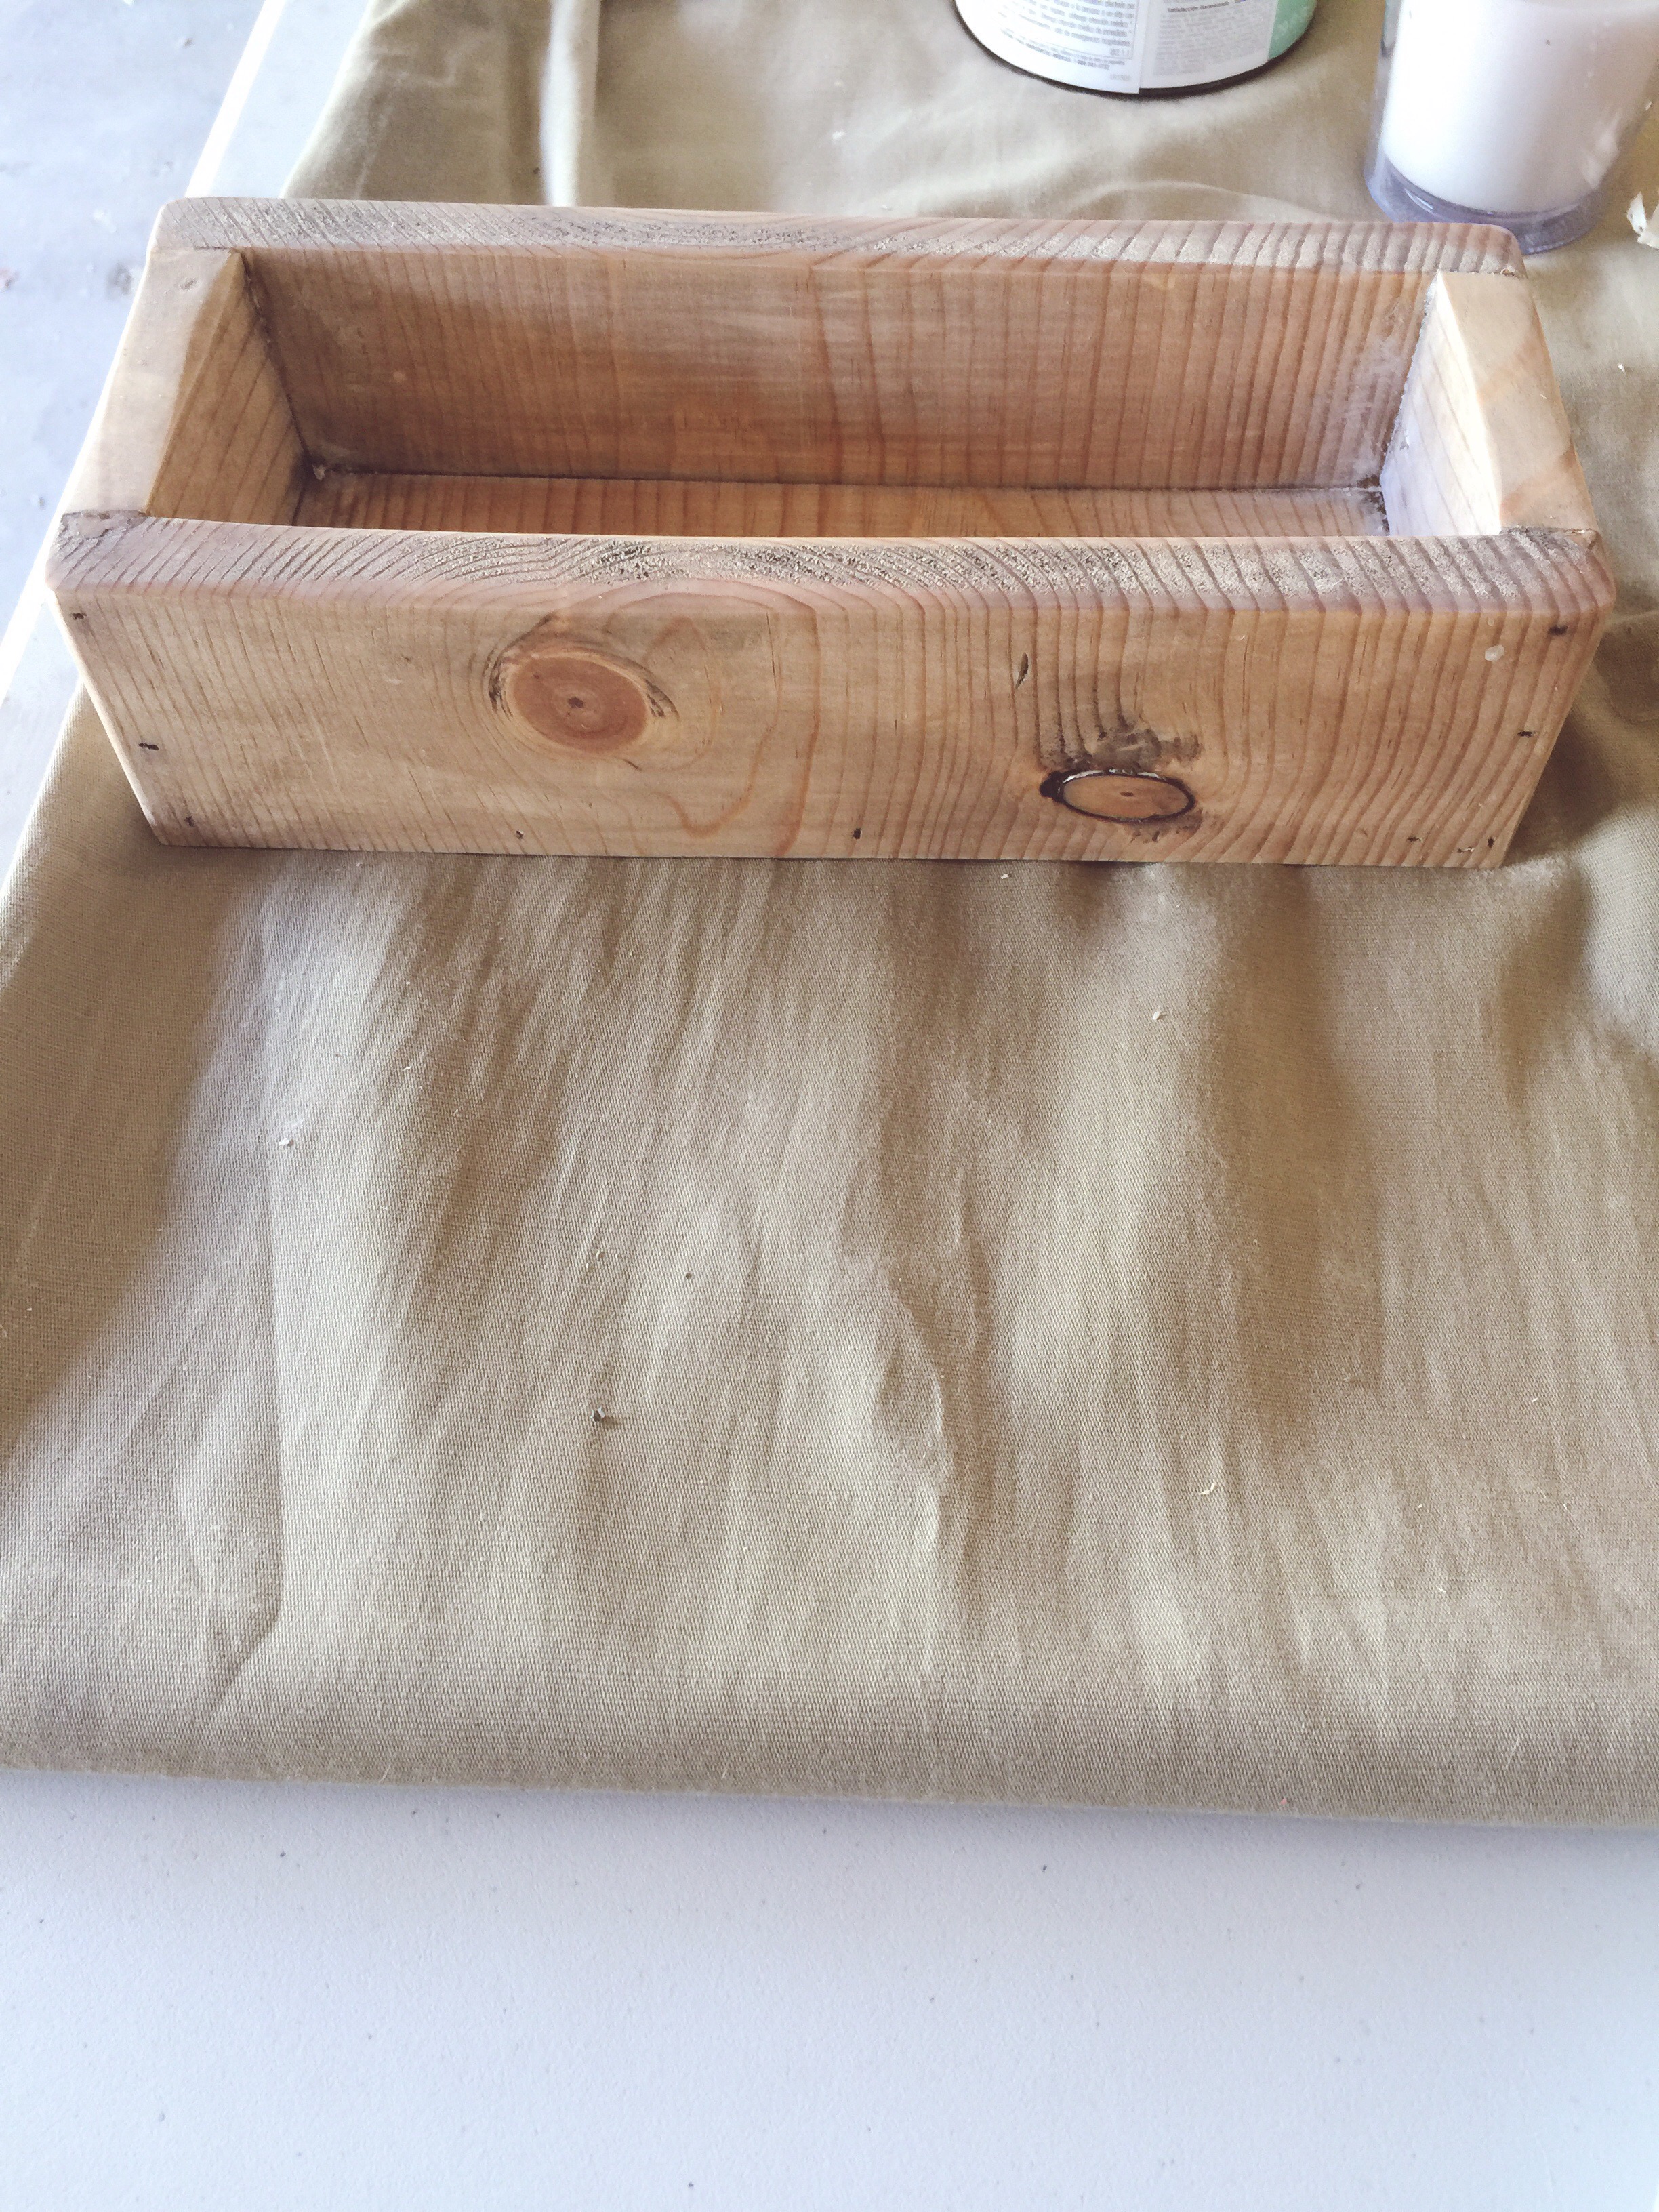
I painted the entire planter with the white chalk paint, and used the sponge and water to kinda of blend into the wood stain. There’s no rhythm to how I whitewash builds. Usually I paint and blend until I’m satisfied with the color. Which is what I did here.

At this point, after the planter dried, I realized my stain/paint combo wasn’t covering up the wood filler filled pocketholes (that I’d stupidly exposed on the outside of the planter…see about 3 pics above. Again, why I shouldn’t have assembled way past bedtime…so many lessons learned!). Such a bummer, because I was really liking how the color was coming along. But, those exposed pocketholes were an eyesore.
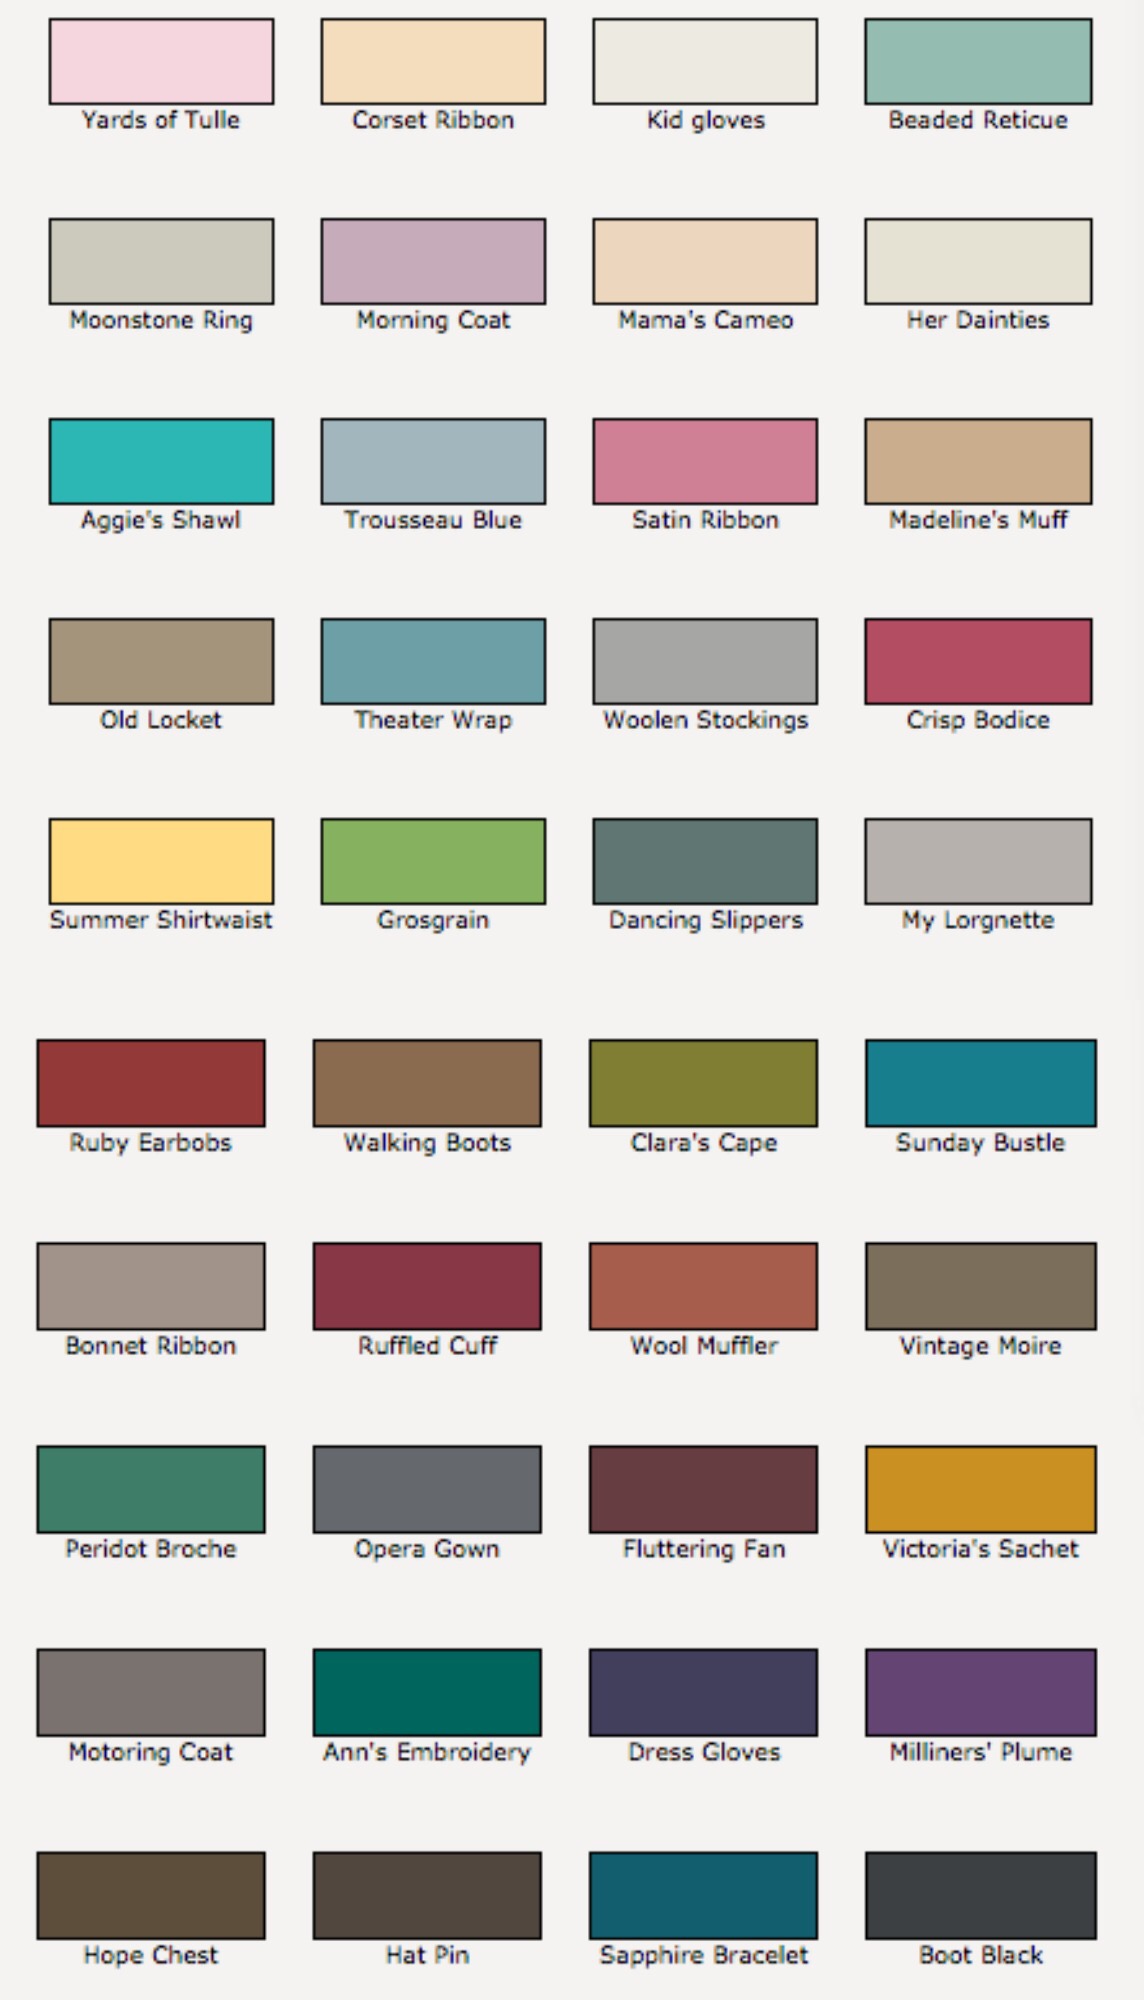
So I went with plan B. Paint it black. I have the Valspar brand chalkpaint in Boot Black as well (the last color on the color chart below). Note, if you get this tint, make sure the base can says “Deep Base”. This one is used for darker colors.

I still wanted some of my stain and wood grain to show, show I taped off the top with painters tape and just painted the sides.

Now the exposed pocket holes aren’t that visible. And I still get to see some of my stain and wood grain on top.

Now it’s time to add the succulents.

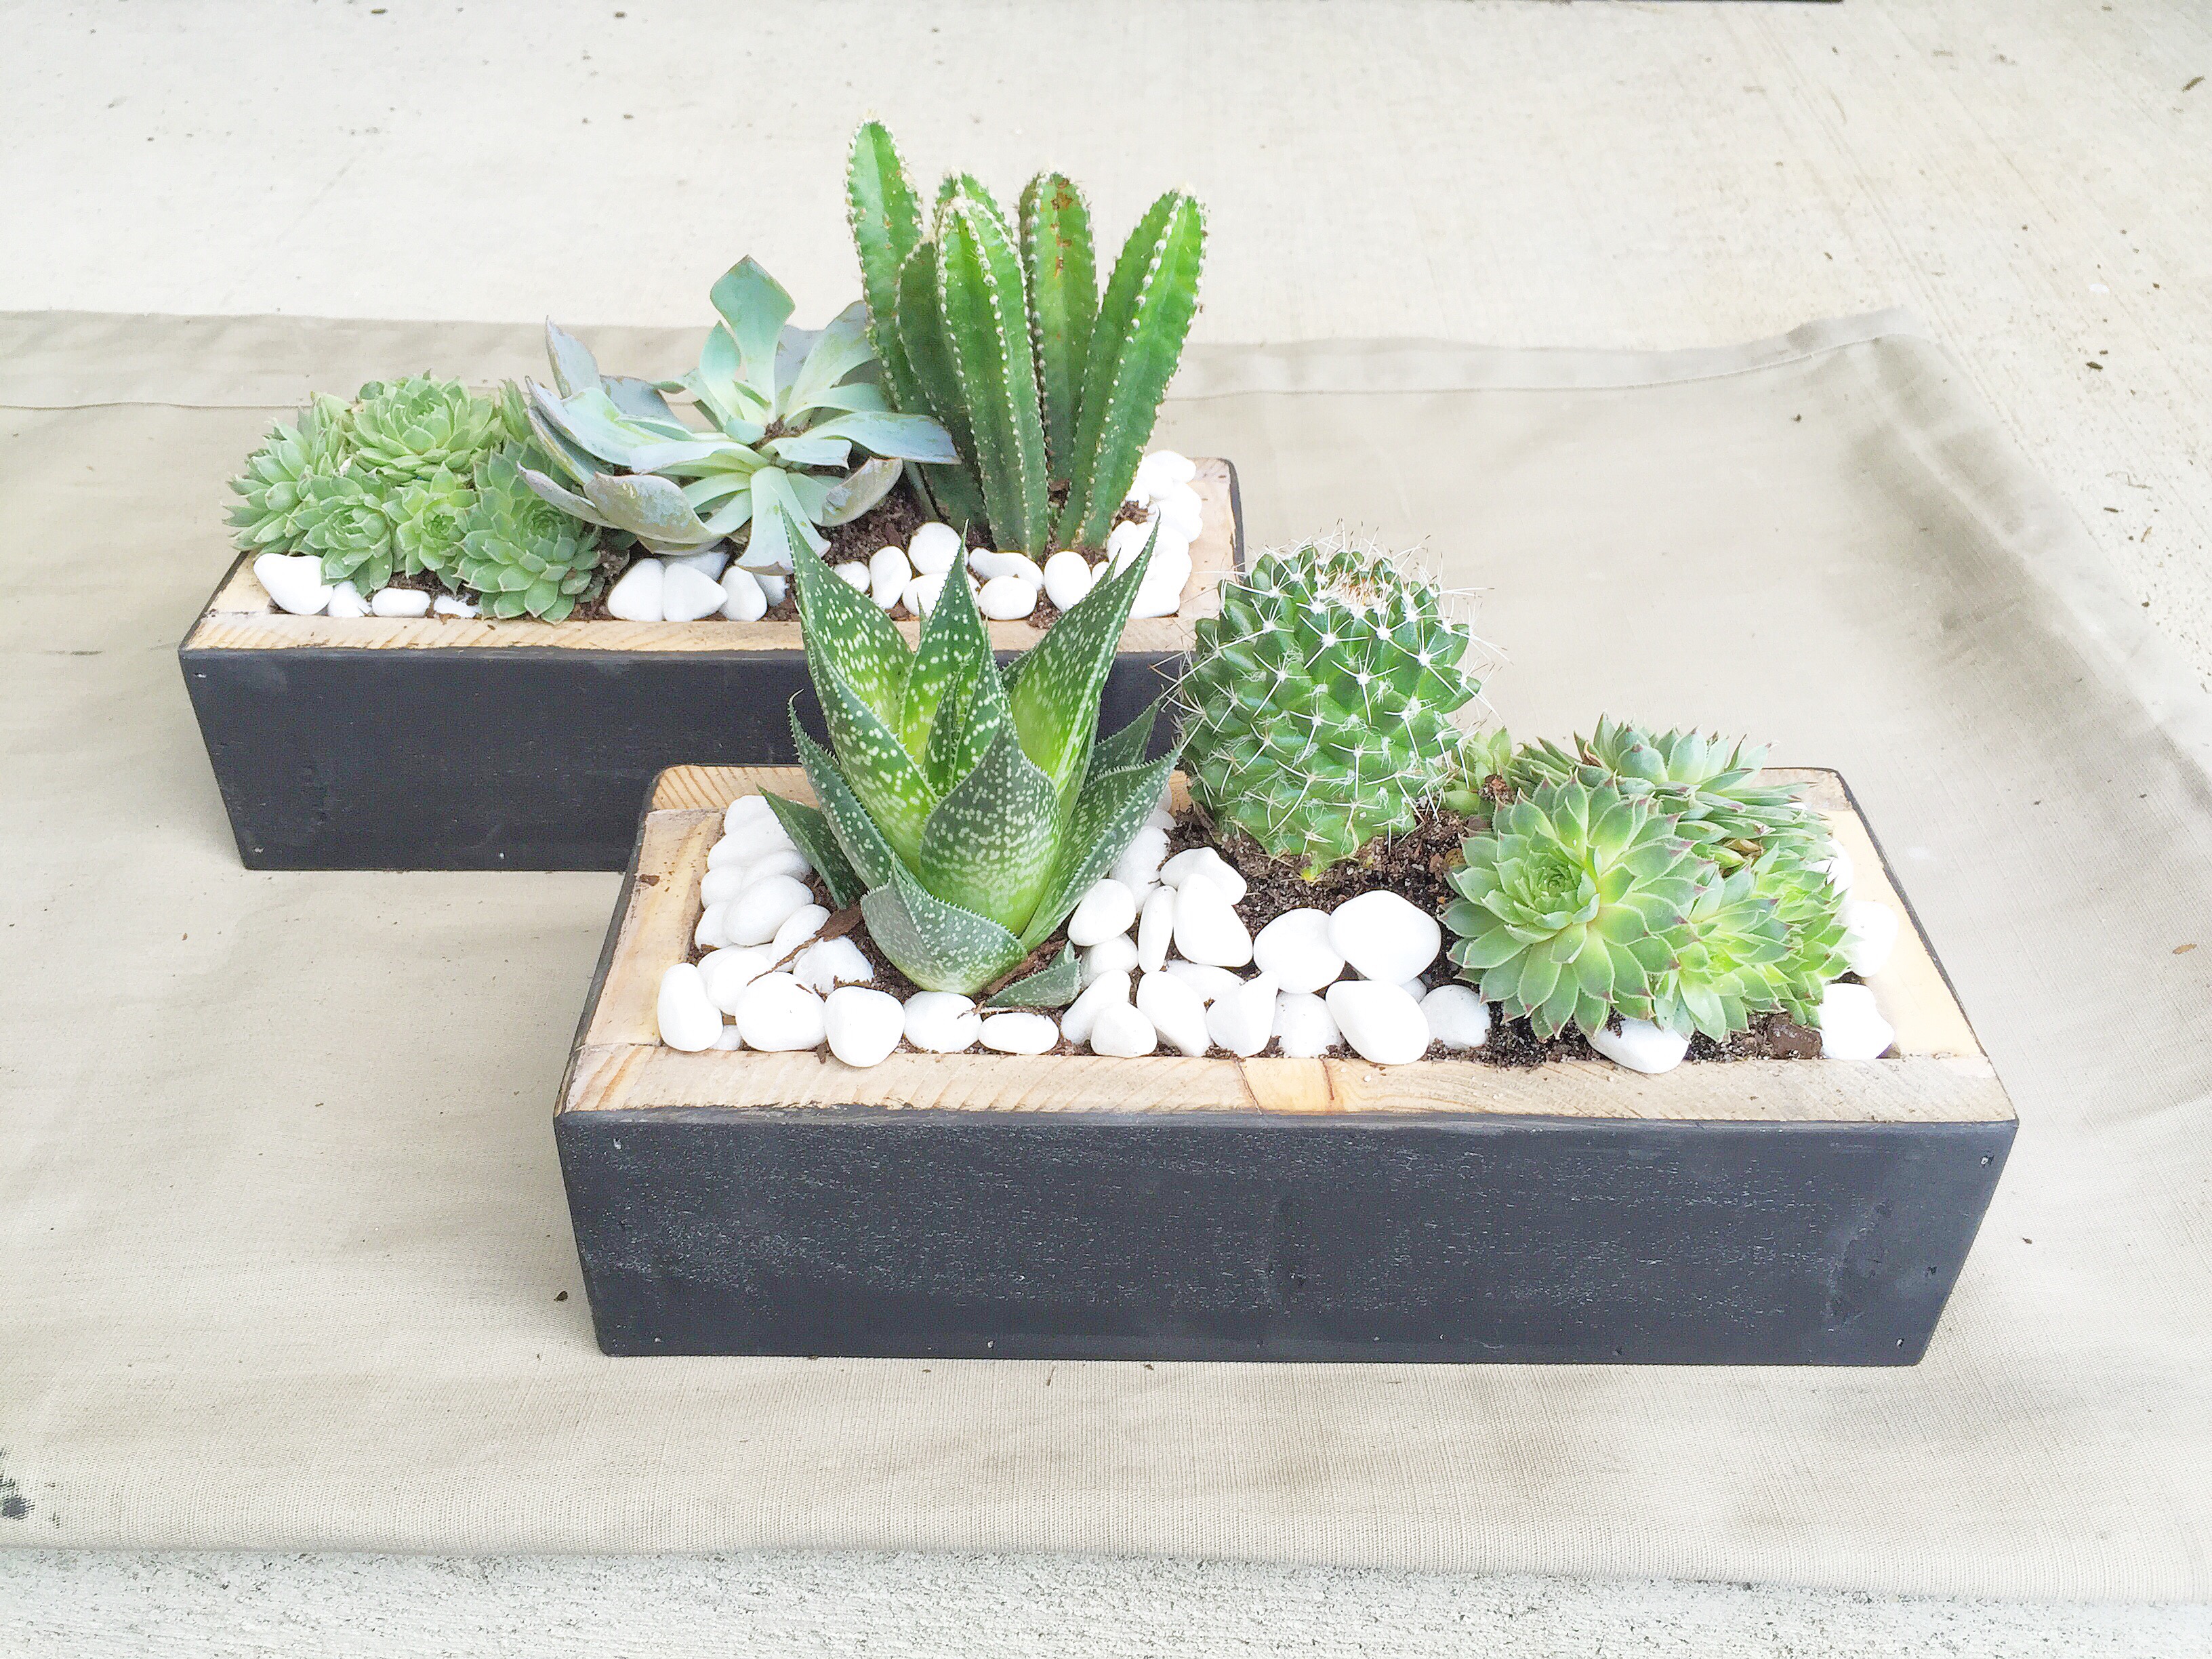
I posted about the “proper” way to plant and care for succulents, per my research. If you want to read up on that, click here (link coming soon). I’m no expert, but all of the info I researched about how to plant and care for them, mentioned those key steps. We’ll see how well mine survive.
And there you have it! Succulent planter boxes at no cost to me!

Looks so cool
LikeLike
Thank you!! ☺️😘
LikeLike
Wow!! I love this idea! They look fantastic! I think I might try this DIY out this weekend!! 🙂
Tonee
https://infoellablog.wordpress.com
LikeLiked by 1 person
Yaaaaay!!! Yes, try it!! It’s super easy.
LikeLike
so pretty, thanks for posting!
http://www.bellemaisonmagazine.com
LikeLiked by 1 person
You’re welcome! (Sorry, I’m super late on he response)
LikeLiked by 1 person
Hello blogger, i must say you have very interesting articles here.
Your website should go viral. You need initial traffic boost only.
How to get it? Search for; Mertiso’s tips go viral
LikeLiked by 1 person