My girls love to play outside (what children don’t, right?). Since our front yard has more running room and openness than our backyard, they play in the front more often than not. And since I (and/or my husband) have to be out there with them, I wanted our front porch to be a comfortable place for us to sit and watch them enjoy the outdoors.
We have outdoor furniture on the deck in our backyard, but it’s a sectional couch and it’s way to big for our front porch. Plus, we still use the deck and backyard, so I don’t want to play “musical furniture” and have to keep moving the couches back and forth. That’s no fun, right?
My goal this year was to add more curb appeal to the front of the house anyway. Our front porch has a little bit of comfy seating on one side…

But, I knew I could make it even more comfortable and enjoyable and a place to really relax and watch the girls. But, we all know how expensive outdoor furniture can be when you buy from a retailer. Our deck sectional wasn’t cheap, and it was on sale!! Wish I would have thought to build furniture 3 yrs ago. Anywho, so the brainstorming and inspiration searching (i.e. Pinterest scrolling) began.
At first I wanted a porch swing. But, after thinking about it for awhile, knowing me and the way I think, I would be a nervous wreck sitting on it because I’d be worrying if it’s strong enough…did I install correctly…will the porch roof collapse etc. (Yep, Worry Wendy here). So that plan was scratched (bummer, because I love porch swings and they’re so cute! One day…maybe). So the idea of a porch couch came to mind. The Ana White outdoor sofa couch plans basically found me thanks to the Pinterest “picked for you” feature where the algorithm basically remembers what you searched for when you previously logged in and gives you suggested pins based on that info. I pinned it to my “Woodworking Wows” board. And here we are!
Off to The Home Depot I went…

I followed the plans verbatim, so you can just click the link to see the materials, cut list, instructions and she even has a video to walk you through it. Better than me typing it all out here. I only did a small modification to my sofa, and I’ll point it out below.
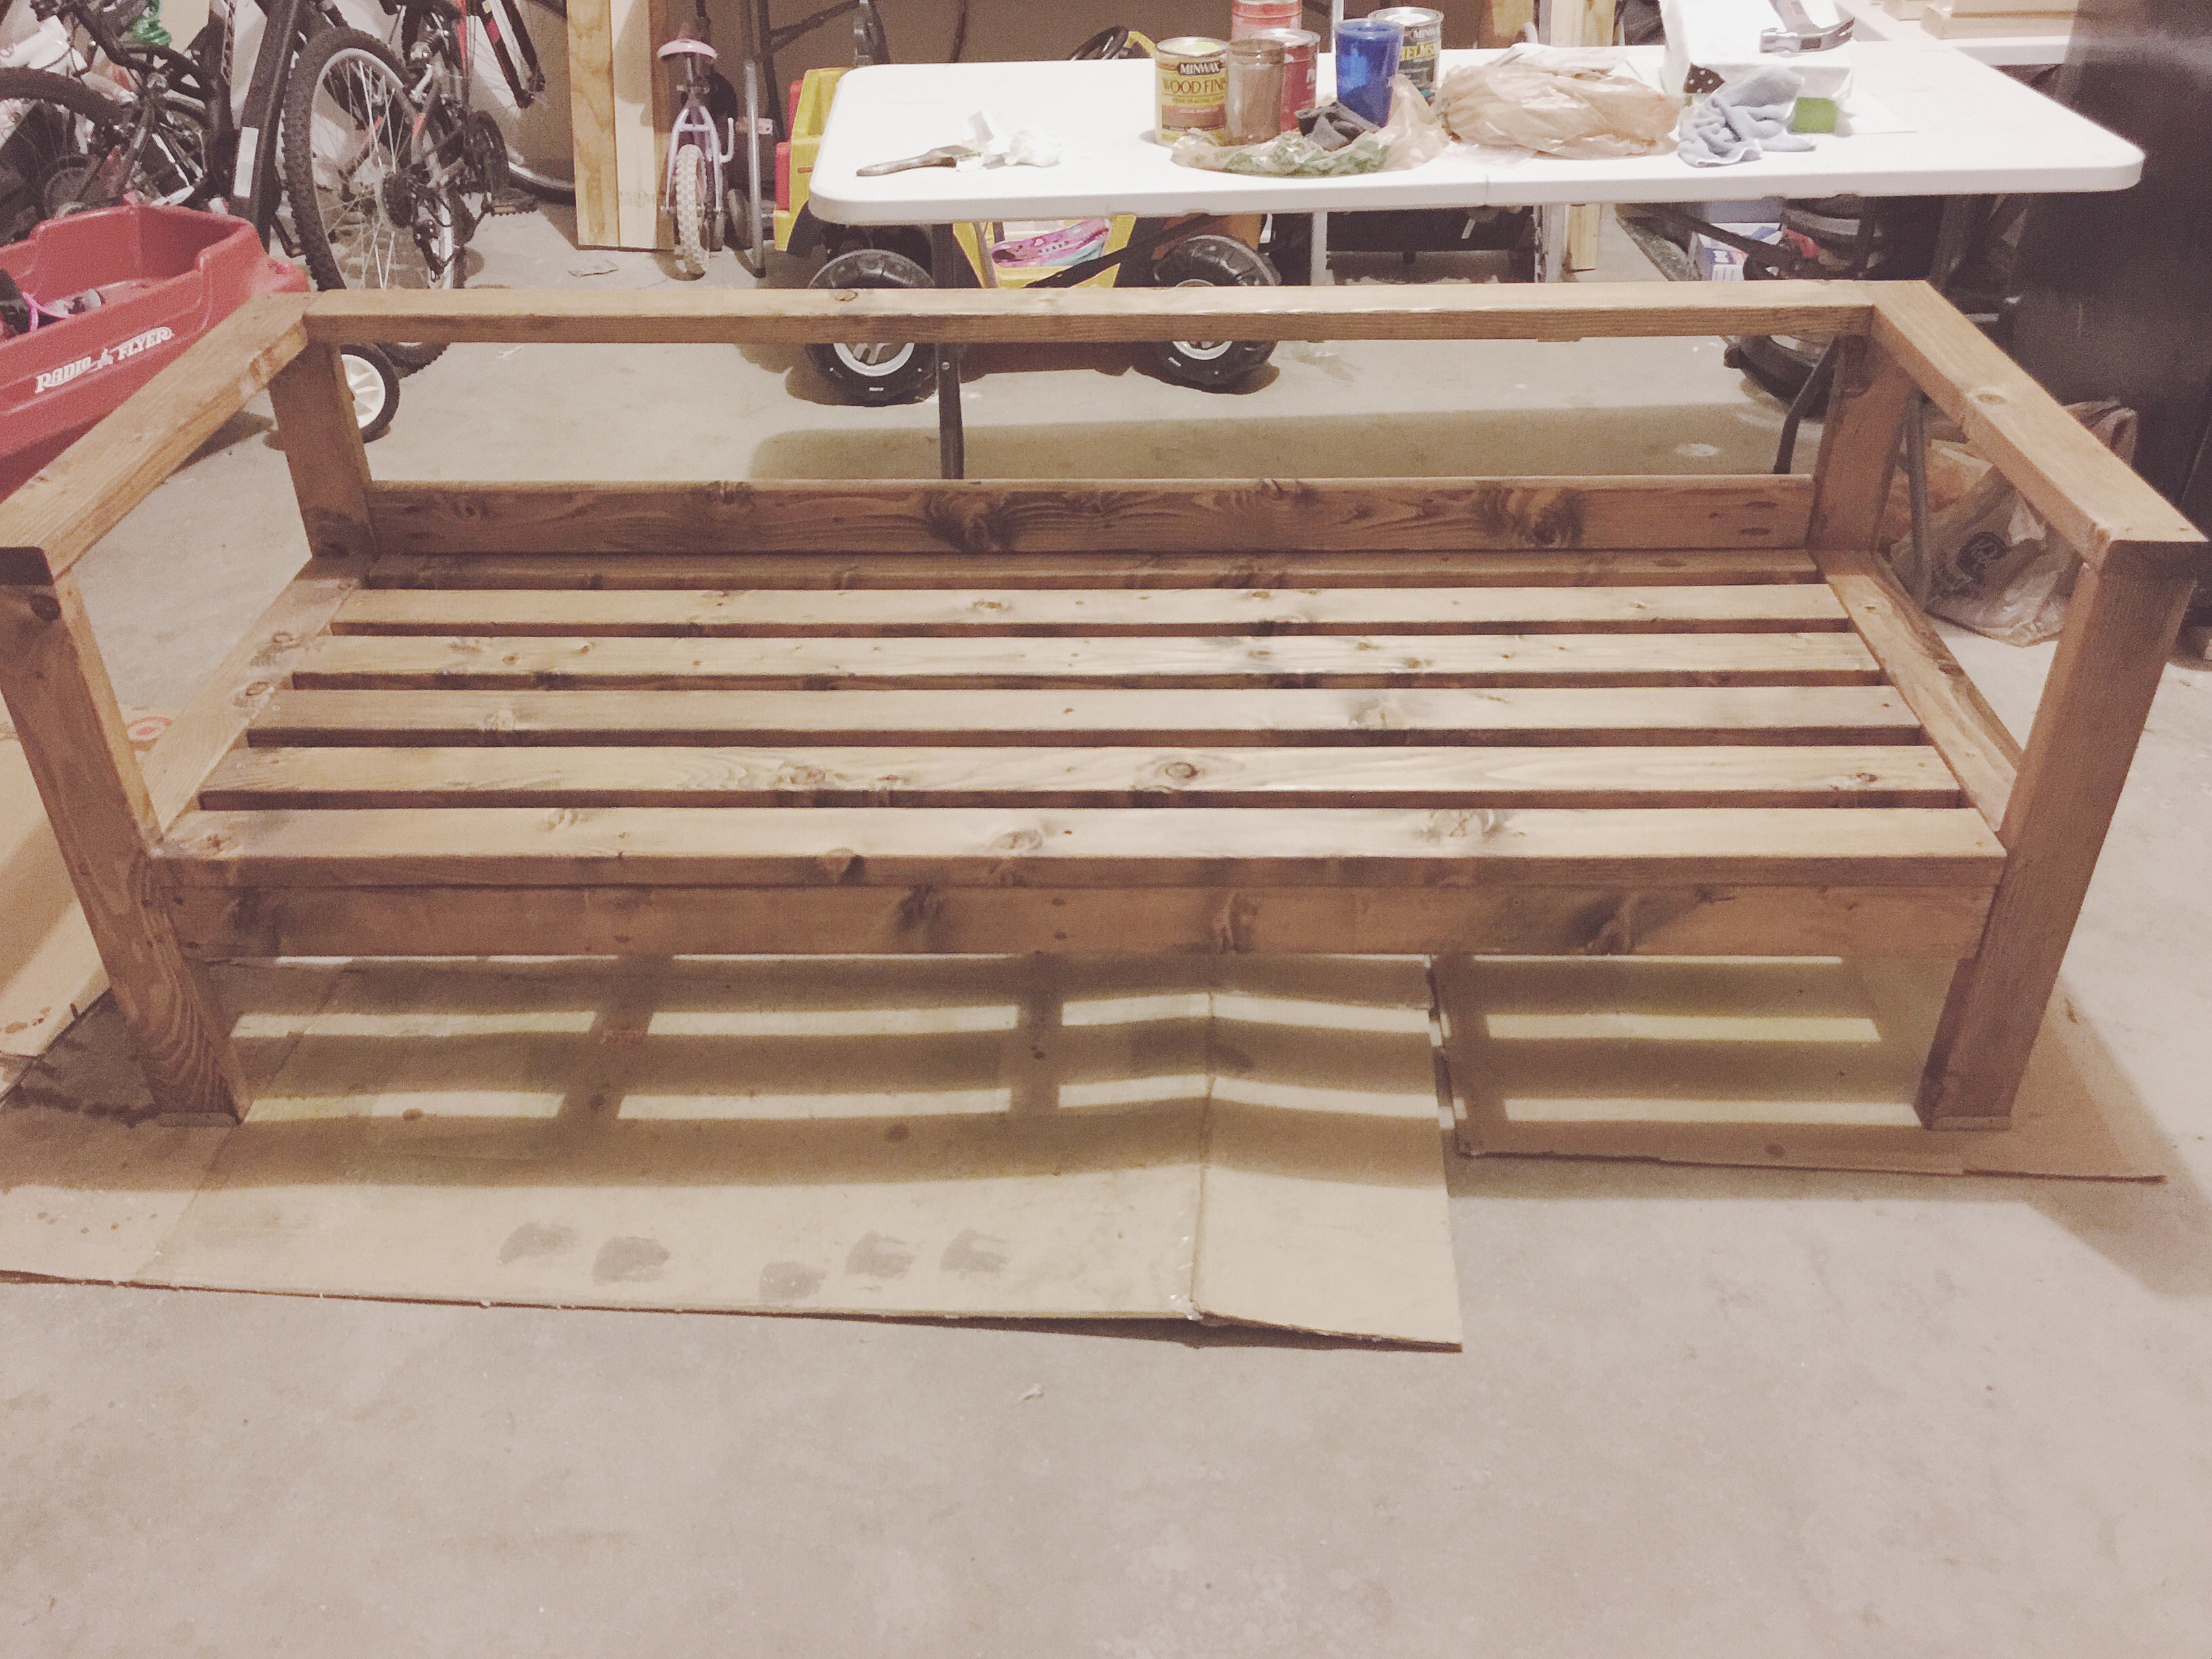
I assembled the sofa per the plans. But, I added an additional 2×4 cut at 72inches, the same length as the 9 longest 2x4s the plans call for. I added pocket holes to each end, just as Ana did the top 2×4 that attaches to each arm of the sofa. See visual below…

It only took me about 5 hrs to build from start to finish. And that includes mom-ing, wife-ing, housekeeping and dragging the girls along to Home Depot to get more wood (Tip: Get 10ft or longer boards like the plans states to avoid special trips to get more wood. Lesson learned…read and FOLLOW directions lol). So, if I would have work on it exclusively, it probably would’ve only taken 2, maybe 3 hrs total. One of my easiest builds to date!
Now to the finish. Deciding what color I want to stain and the finish to pieces I build is always the hardest part for me. Since this piece will be outside, the finishes I chose had to be all- weather friendly.
I eventually chose one of my favorite stains, Miniwax special walnut. I usually lighten it up a bit with a lighter stain on top or a white wash, but since our other porch chairs were dark, I wanted the outdoor couch to compliment.
I only did one coat of stain and here’s how it looked…
Bad lighting in my garage at night, but it came out just how I envisioned!! I let the stain dry for at least 24 hours. Then, I applied three coats of Miniwax Helmsman spar urethane on top, letting each coat dry at least 24 hrs before applying the next coat. Warning: the spar urethane has a very strong odor. I’d recommend letting it cure outside of the house. Inside the garage or basement should be fine. Mine was in the garage and in some parts of the house, because the odor is so strong, you could smell it inside.

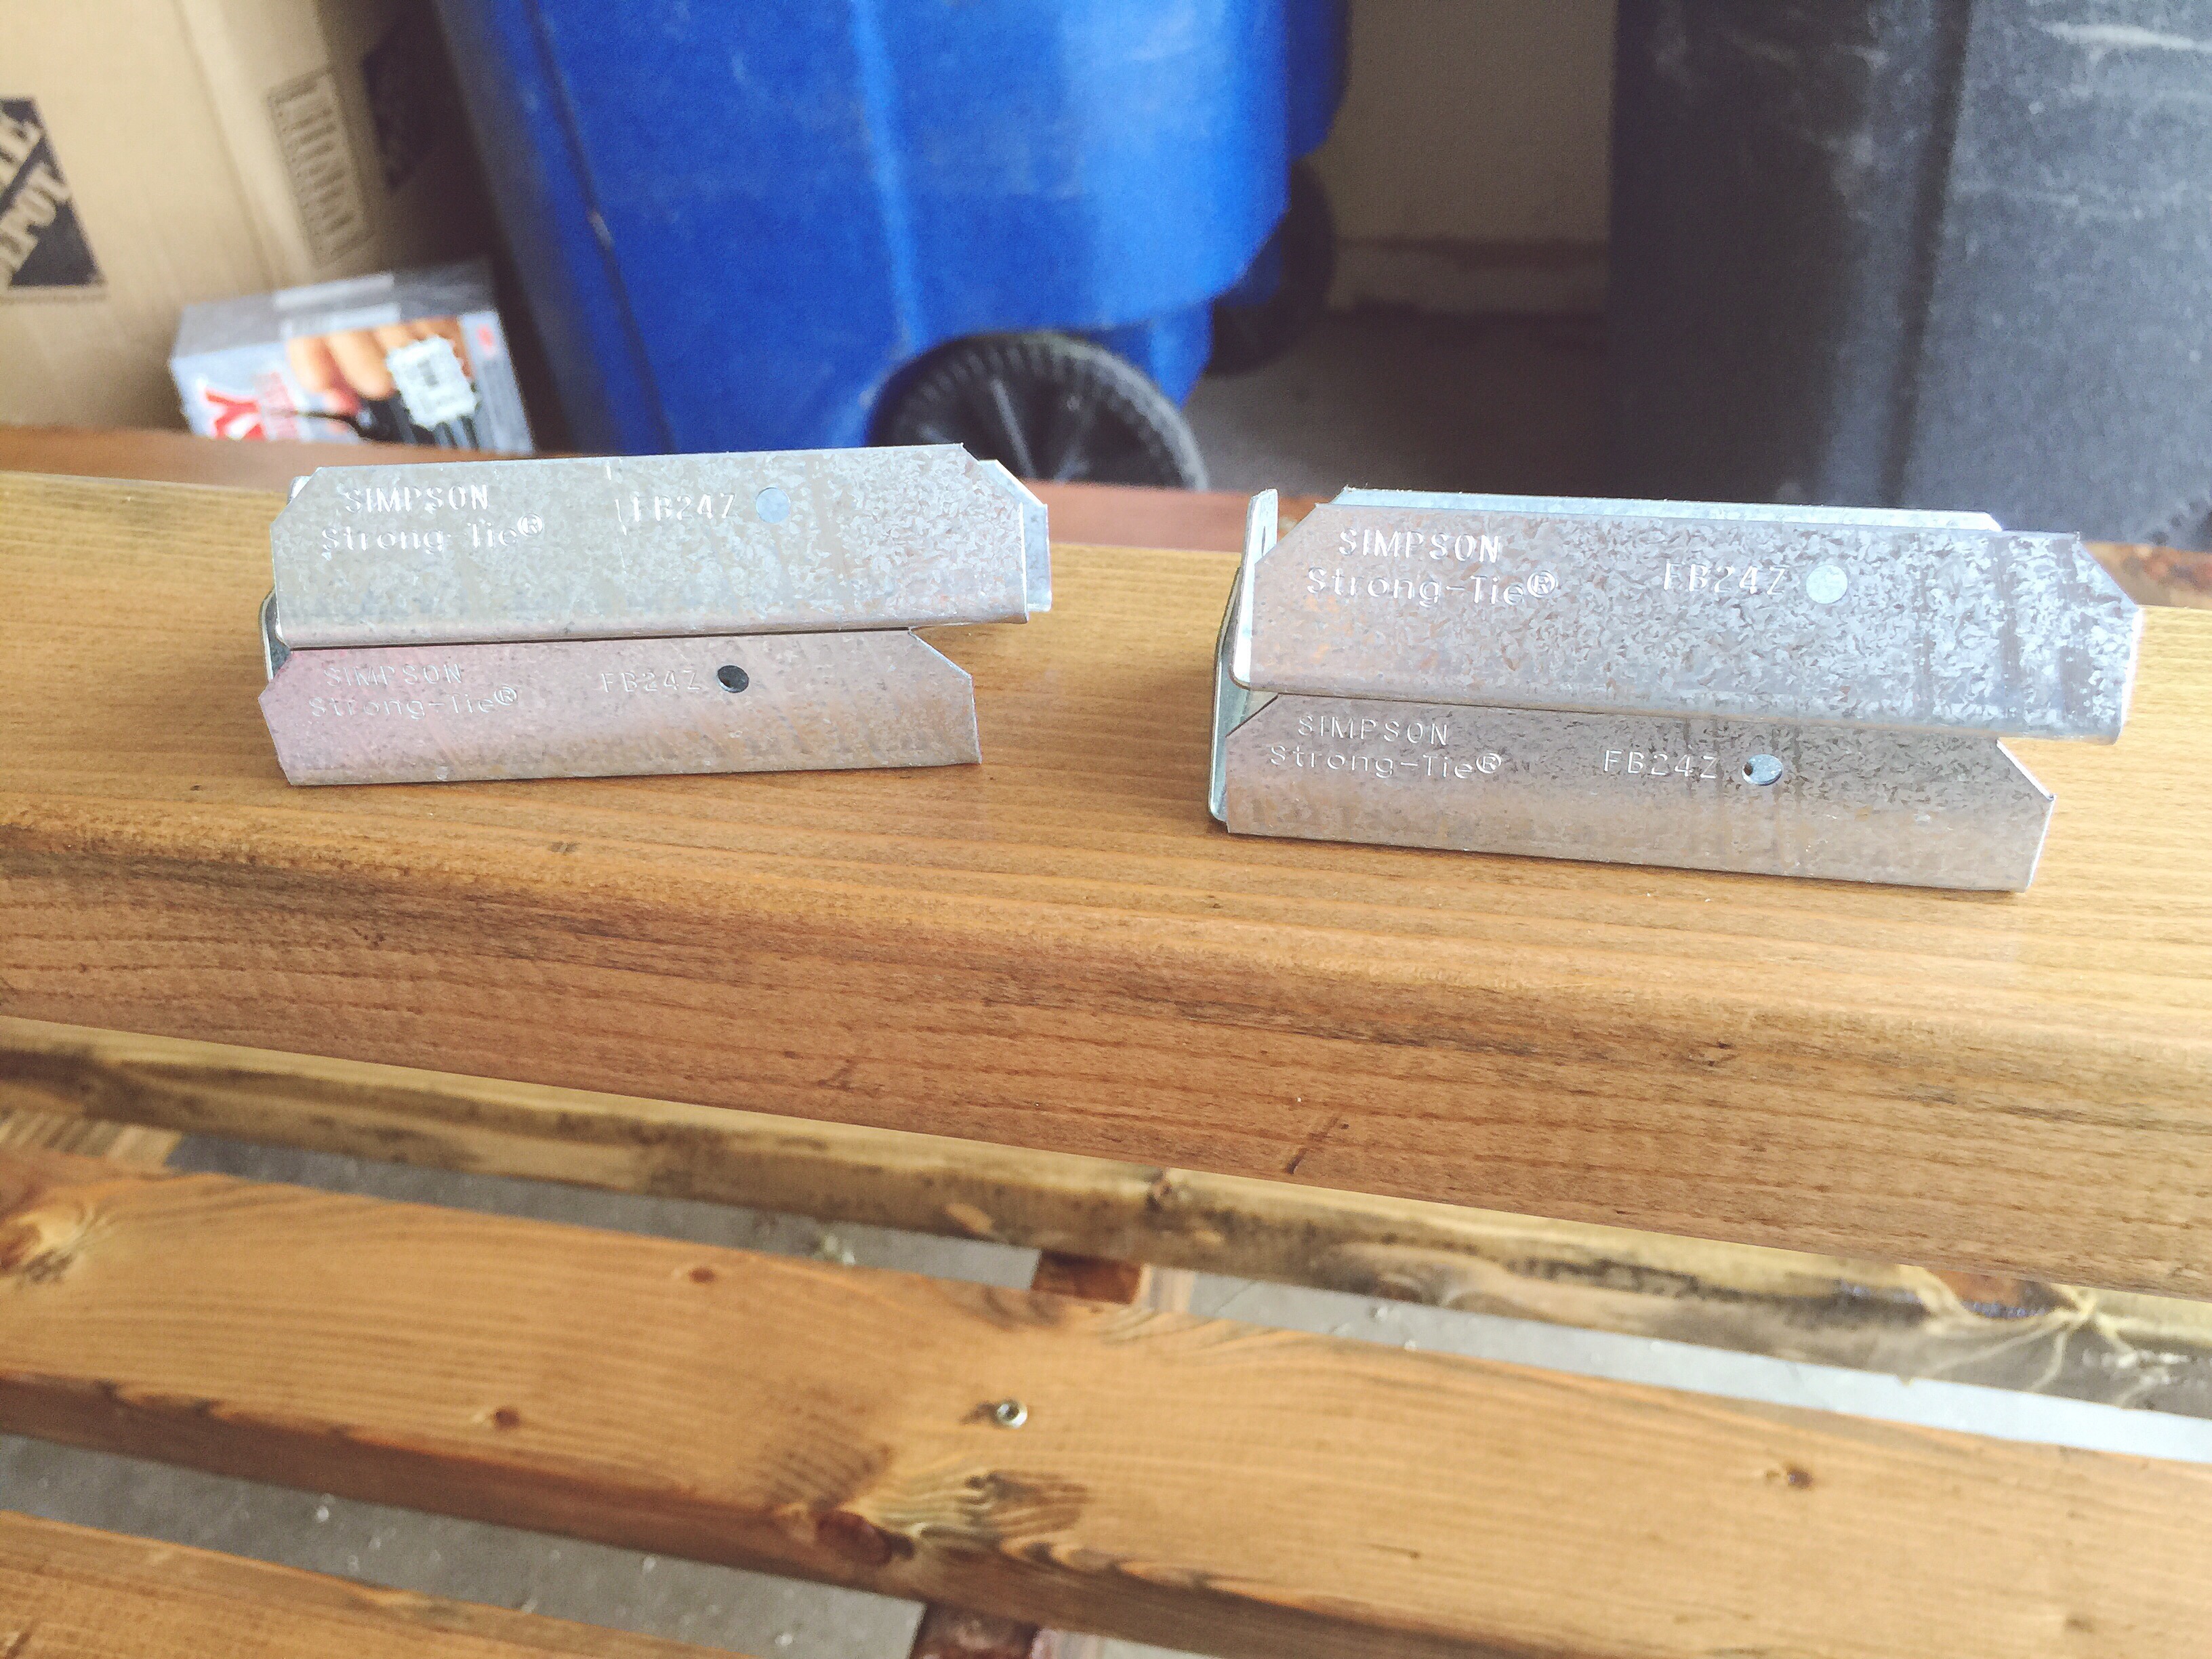
After the protective coat completely dried, I adorned the feet of the legs with these fence brackets from Simpson Strong Tie to add some flare to it. I bought 4, one for each foot at only 67 cents each!


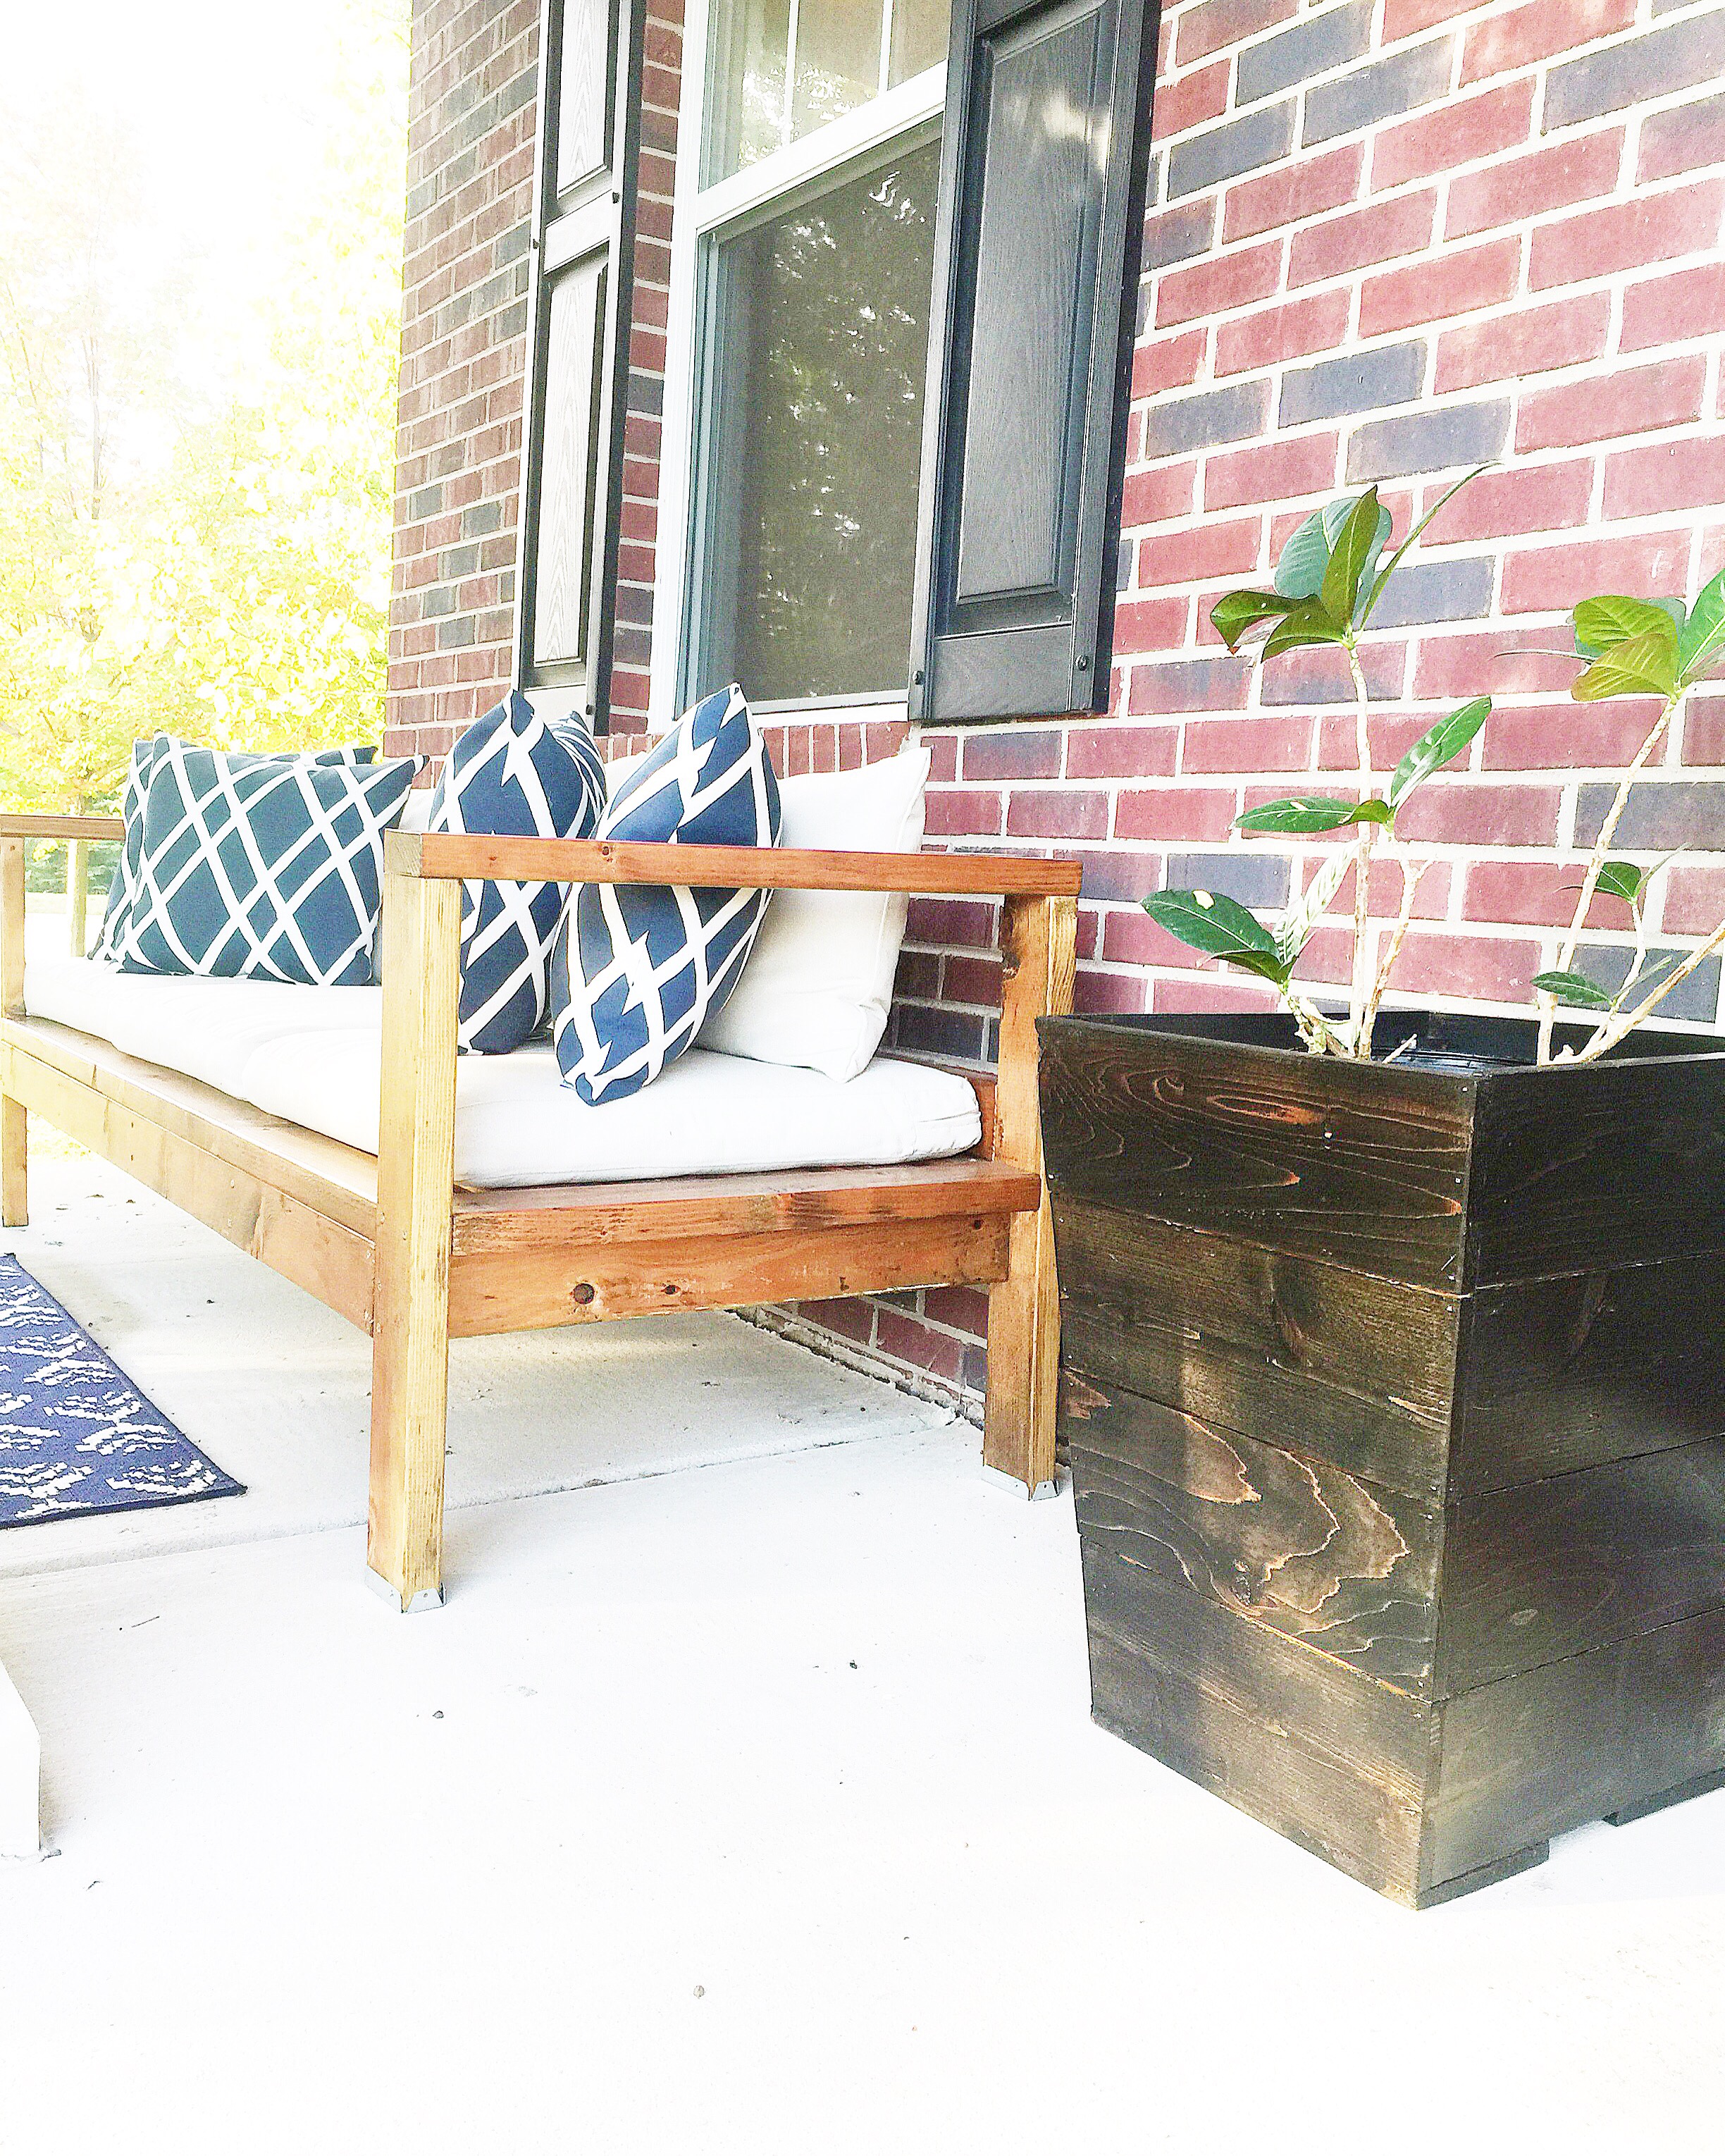
And then I put her on display on the opposite side of the front porch.


I found 24×24 seat cushions from Ikea for $25 each, and matching back cushions for $15 each. I was super excited when I found them because all of the other options I’d seen were well over $40-$60 each cushion.
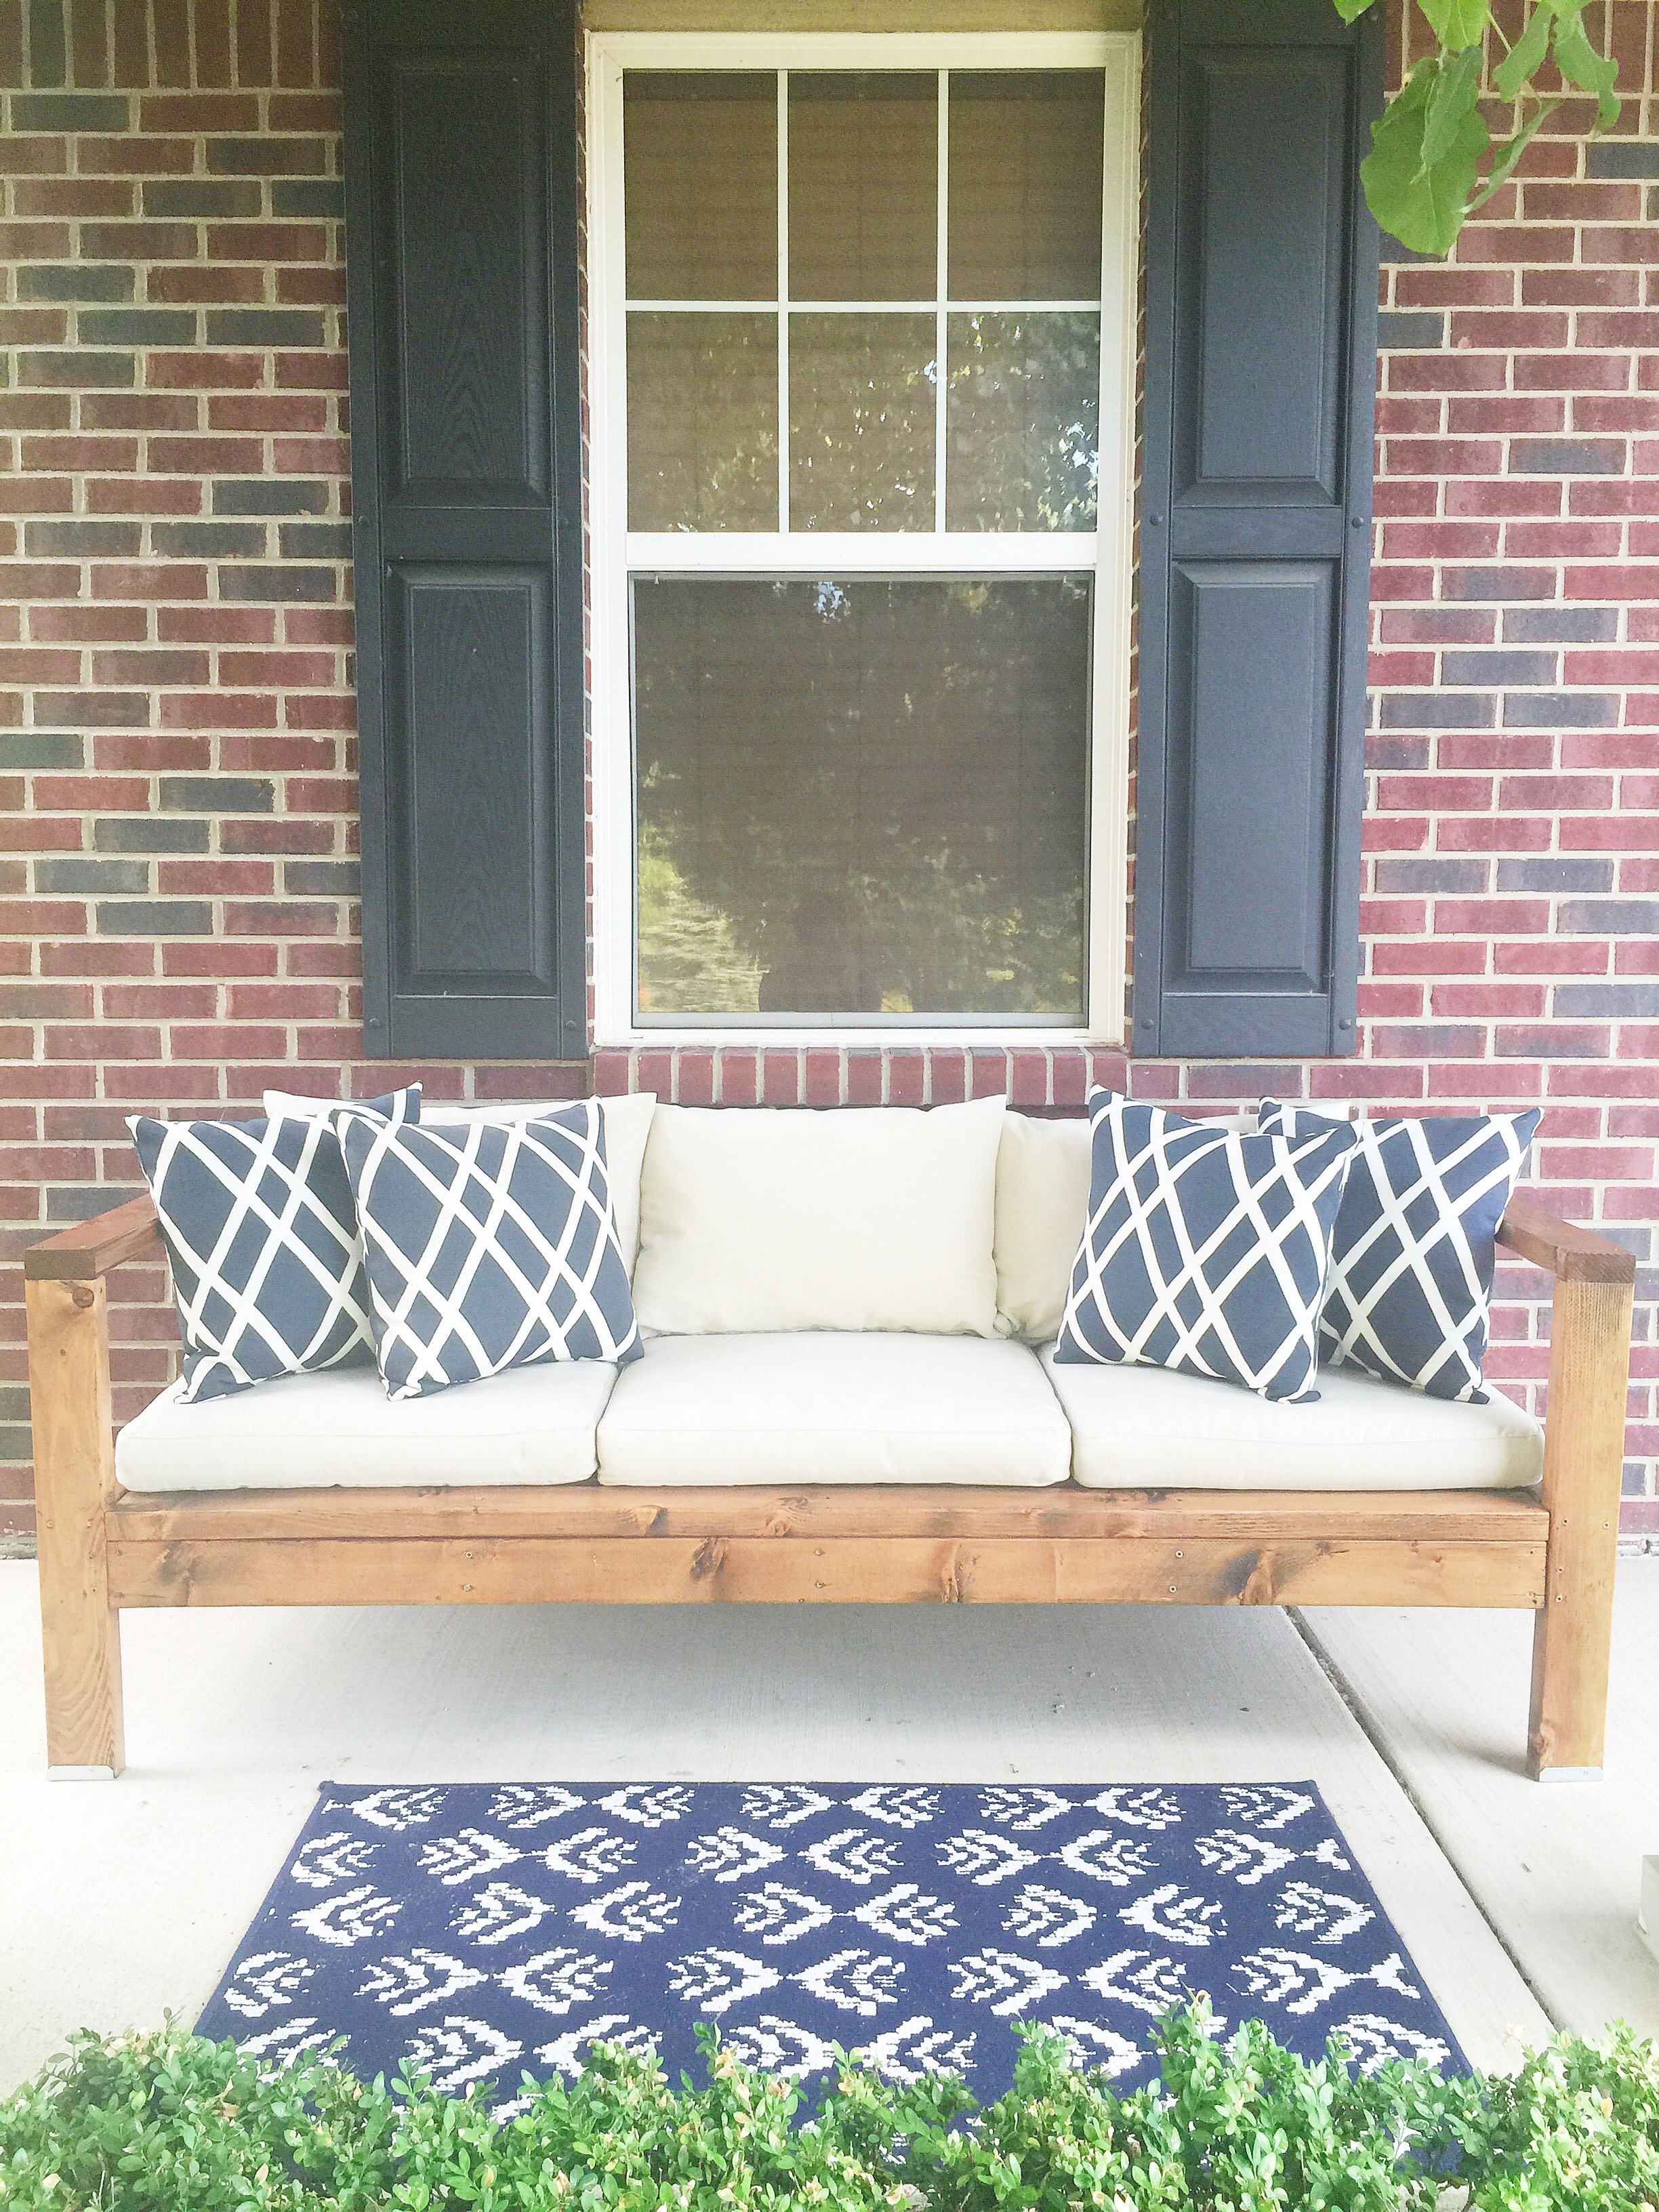
Now, front porch kid observing is way more comfy and enjoyable!
Decor items pictured above:
Seat cushions: Ikea
Back cushions: Ikea
Decorative outdoor throw cushions: Target
Outdoor/Indoor area rug: Target
Planter box: BuildingBriggs built…DIY post on it coming soon

This is beautiful!! I want to make one this summer for my backyard! How’s this been holding up for you? Is there anything you would change? Thanks!
LikeLiked by 1 person
Thanks Haley! It’s still going strong! I’ve had no problems with it and it’s just as beautiful this summer as it was last year! You should make it! You won’t be disappointed. 😉
LikeLike