Succulents are one of my favorite plants to have around the house. Unfortunately, I haven’t had much luck keeping them alive in the past. The main reason for this is because I’d never really knew how they like to be treated. I figured they were just like any other plant I’ve had in our home. Water every few days to keep them happy. And that’s it. Nope, not the case with succulents.
I went on a research binge to learn how to plant and properly care for them. I visited many websites, blogs, Pinterest posts and almost all of them had a general consensus on how to keep them happy.
Instead of keeping them in the generic pot that they usually come in, I built a couple of planter boxes to house my succulents. To see how I built them, you can visit my website. I typically get my succulents from our local Ikea. They always have a variety to choose from, and they’re only $2.99 each. If your Ikea is anything like mine, I recommend you get them as soon as they start selling them for the season. They go fast!
Anywho…So, here’s a summary of what I learned. I’m no expert, but so far my succulents have been very happy with me.
Planting Succulents:
Succulents survive the longest when their dirt is dry. So when planting them in a planter box, flower pot, terrarium etc. that doesn’t have draining holes, you need to create a “draining system” at the bottom. I planted my succulents in my planter boxes I built and a wooden lantern I had laying around the house.
Materials Needed:
- Succulent(s)
- Potting Mix (preferably a mixture specifically for cacti/succulents, fast drying soil is ideal)
- Sand
- Plastic bag
- Rocks
- Planter box, flower pot, vase, terrarium…your choice
Instructions:
Step 1-Cover the bottom of the planter with plastic.
Doesn’t matter what kind. Especially if it won’t be visible. I just used a piece of a Hobby Lobby bag . This step isn’t necessary, but it’s recommended if your planter’s corners in the inside are likely to leak. I did this as a precaution because I didn’t really know if the corners in my planter boxes were 100% sealed/closed, and you wouldn’t be able to see the plastic anyway. However I didn’t do this for my lantern because the corners were sealed. Also the sides are glass, so you’d be able to see the plastic I was using (thank goodness because I didn’t have any clear plastic in hand). But, if your planter’s bottoms/sides will be visible like it would be in a terrarium and the sides aren’t sealed, use clear plastic.

Step 2-Add a layer of sand either on top of the plastic, if you did step 1, or as your first layer of you didn’t do step oneI used this kind I found at The Home Depot.

Here’s a better picture of the bag (along with the potting soil I used in Step 5). Its kind of hard to see the top, but it says desert sand, so I thought it would be appropriate to use with my succulents.

Step 3– Add a layer of rocks on top of the sand.
I got these from Hobby Lobby in the faux flower section.


Your “draining system” is complete. When you water your plants, this helps separate the water from the soil keeping the soil from being too moist…a no no for succulent care. The rocks act as a “wall” and the sand absorbs the water so that it doesn’t just sit at the bottom of the planter.
Step 4-Add potting soil on top of the rocks.
I used potting soil specifically for cacti. This is also from The Home Depot.


Tip: If your planter is shallow, like mine, be sure not to add too much soil. Your succulents will also have dirt attached to it, so you don’t want to add too much potting soil because you won’t be able to plant the succulent deep enough.
Step 5– Add a layer of sand on top of the potting soil.
This helps dry out the soil faster after you water the succulents. Remember, they don’t like a moist environments. Since I used potting soil specifically for cacti, I probably would have been ok without this step. But, if you use any other type of soil, this step may be key.
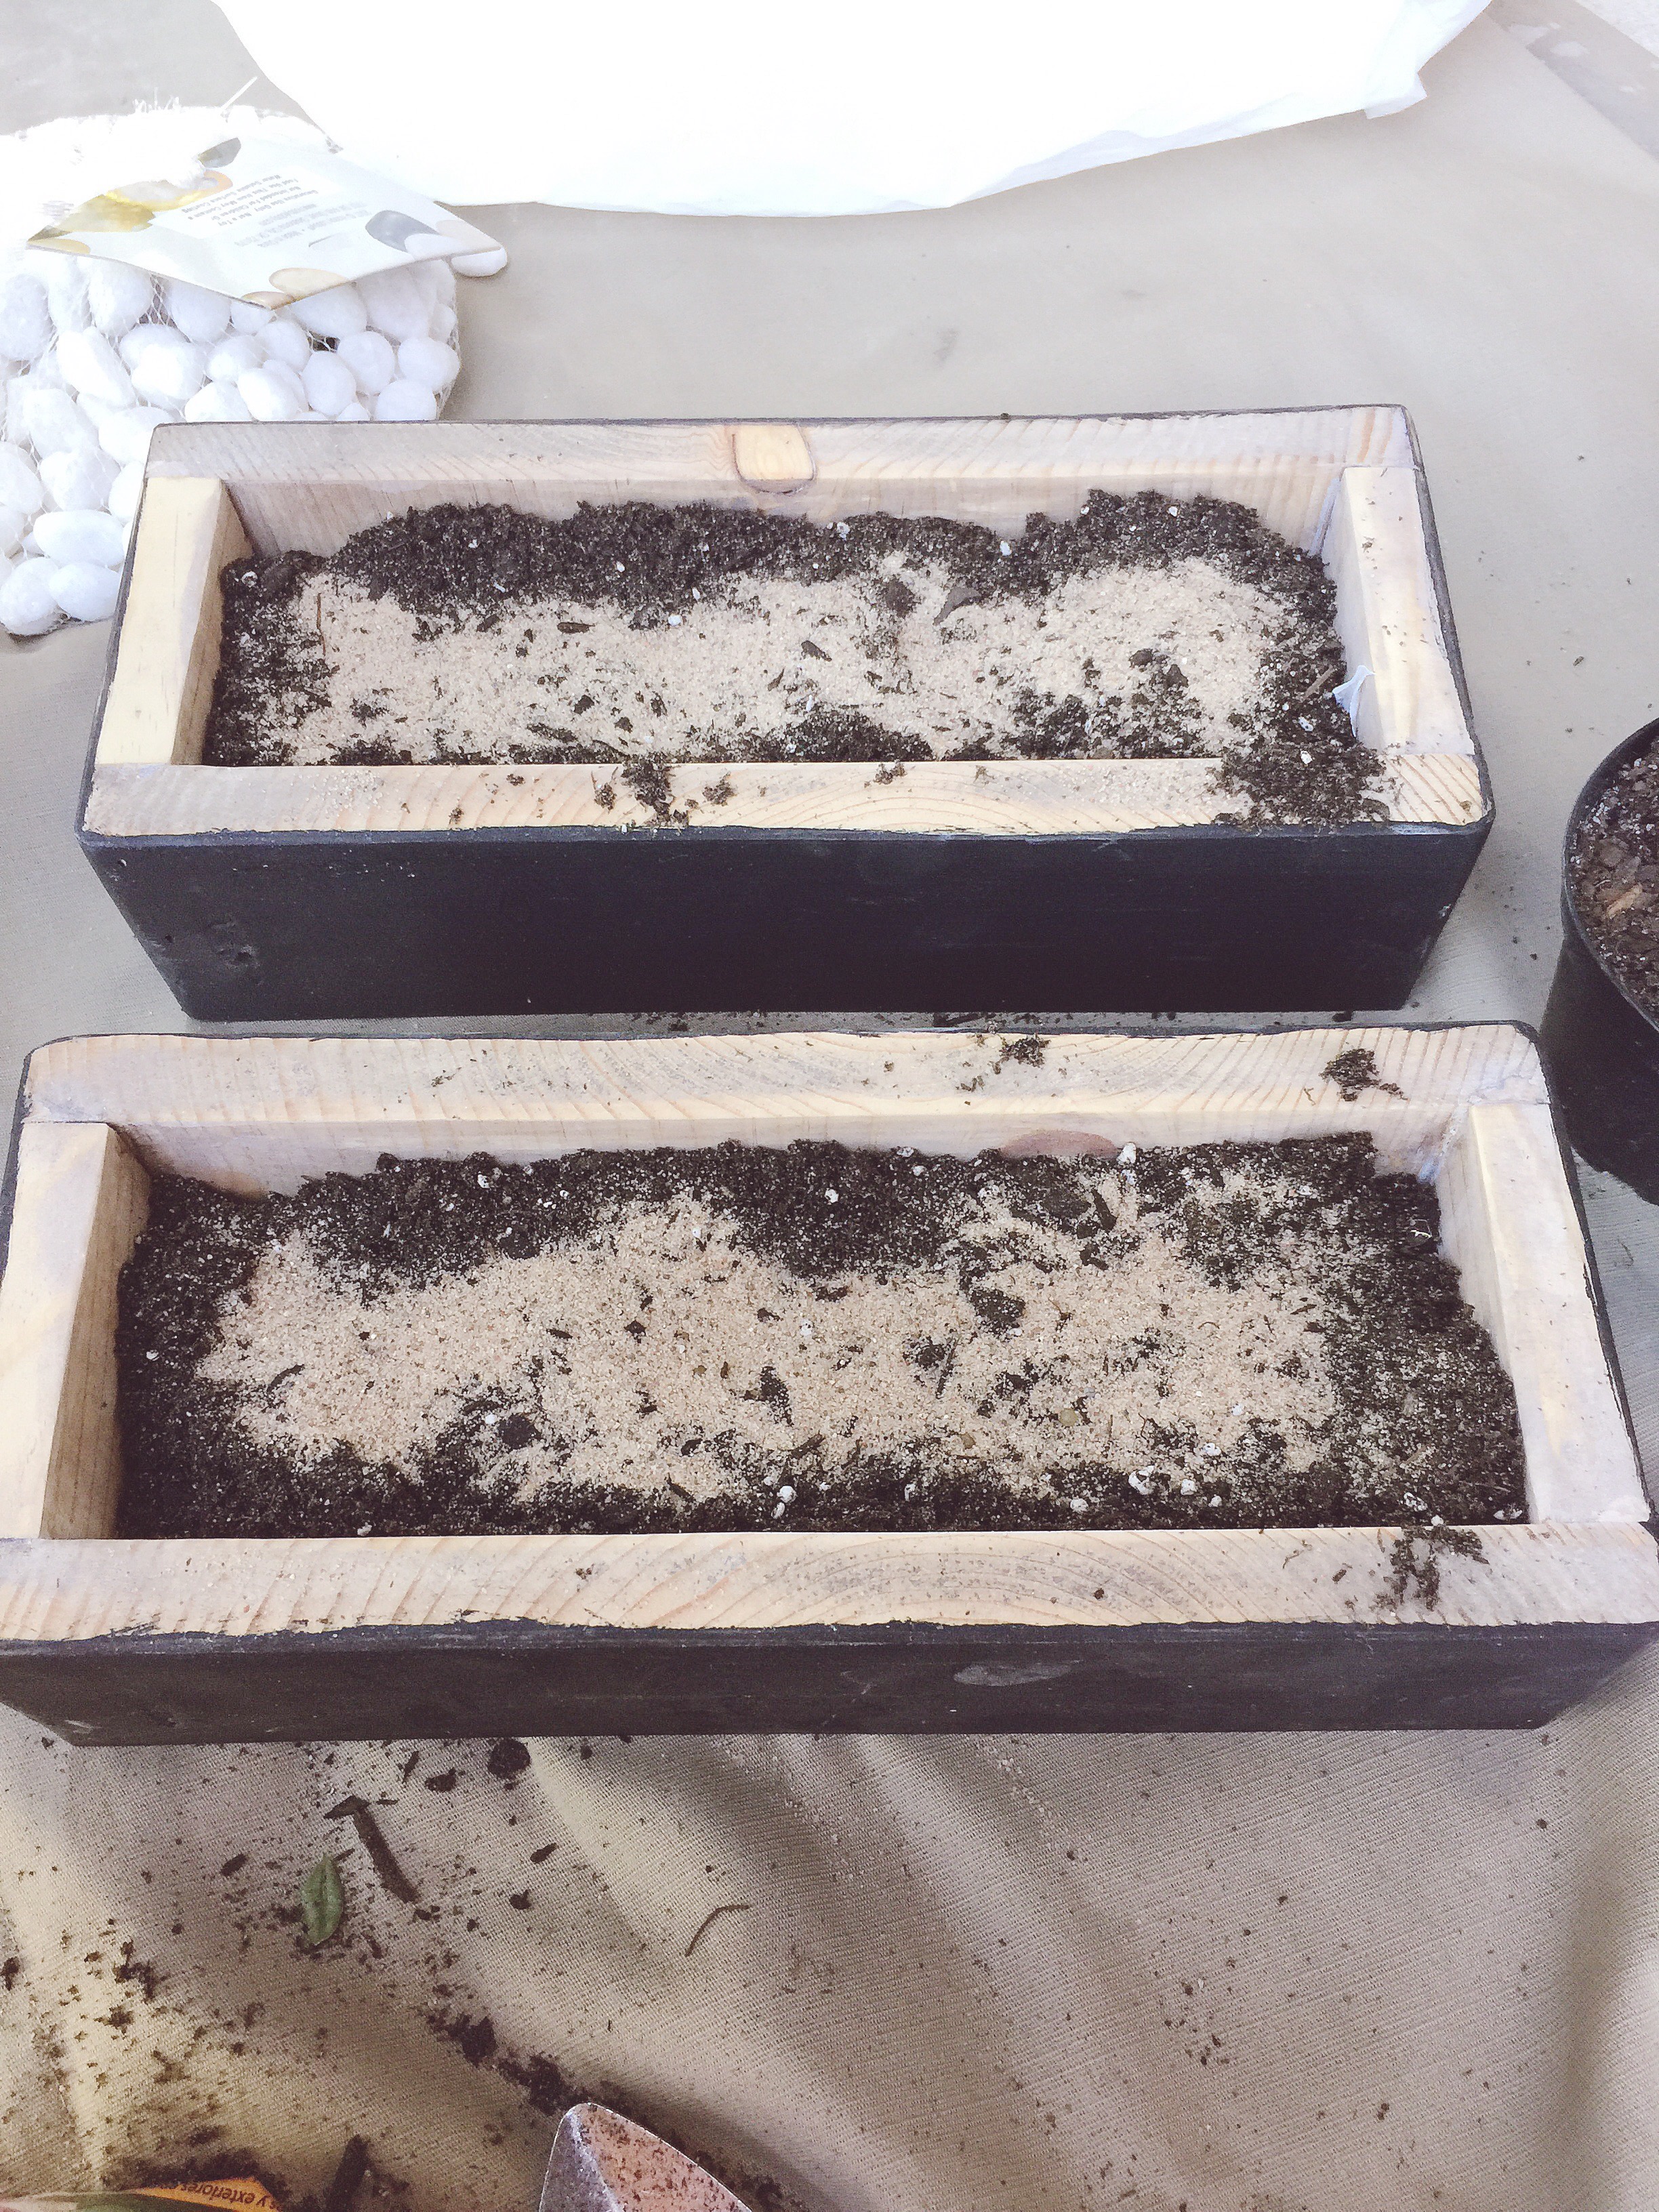
Step 6– Mix the sand with the dirt
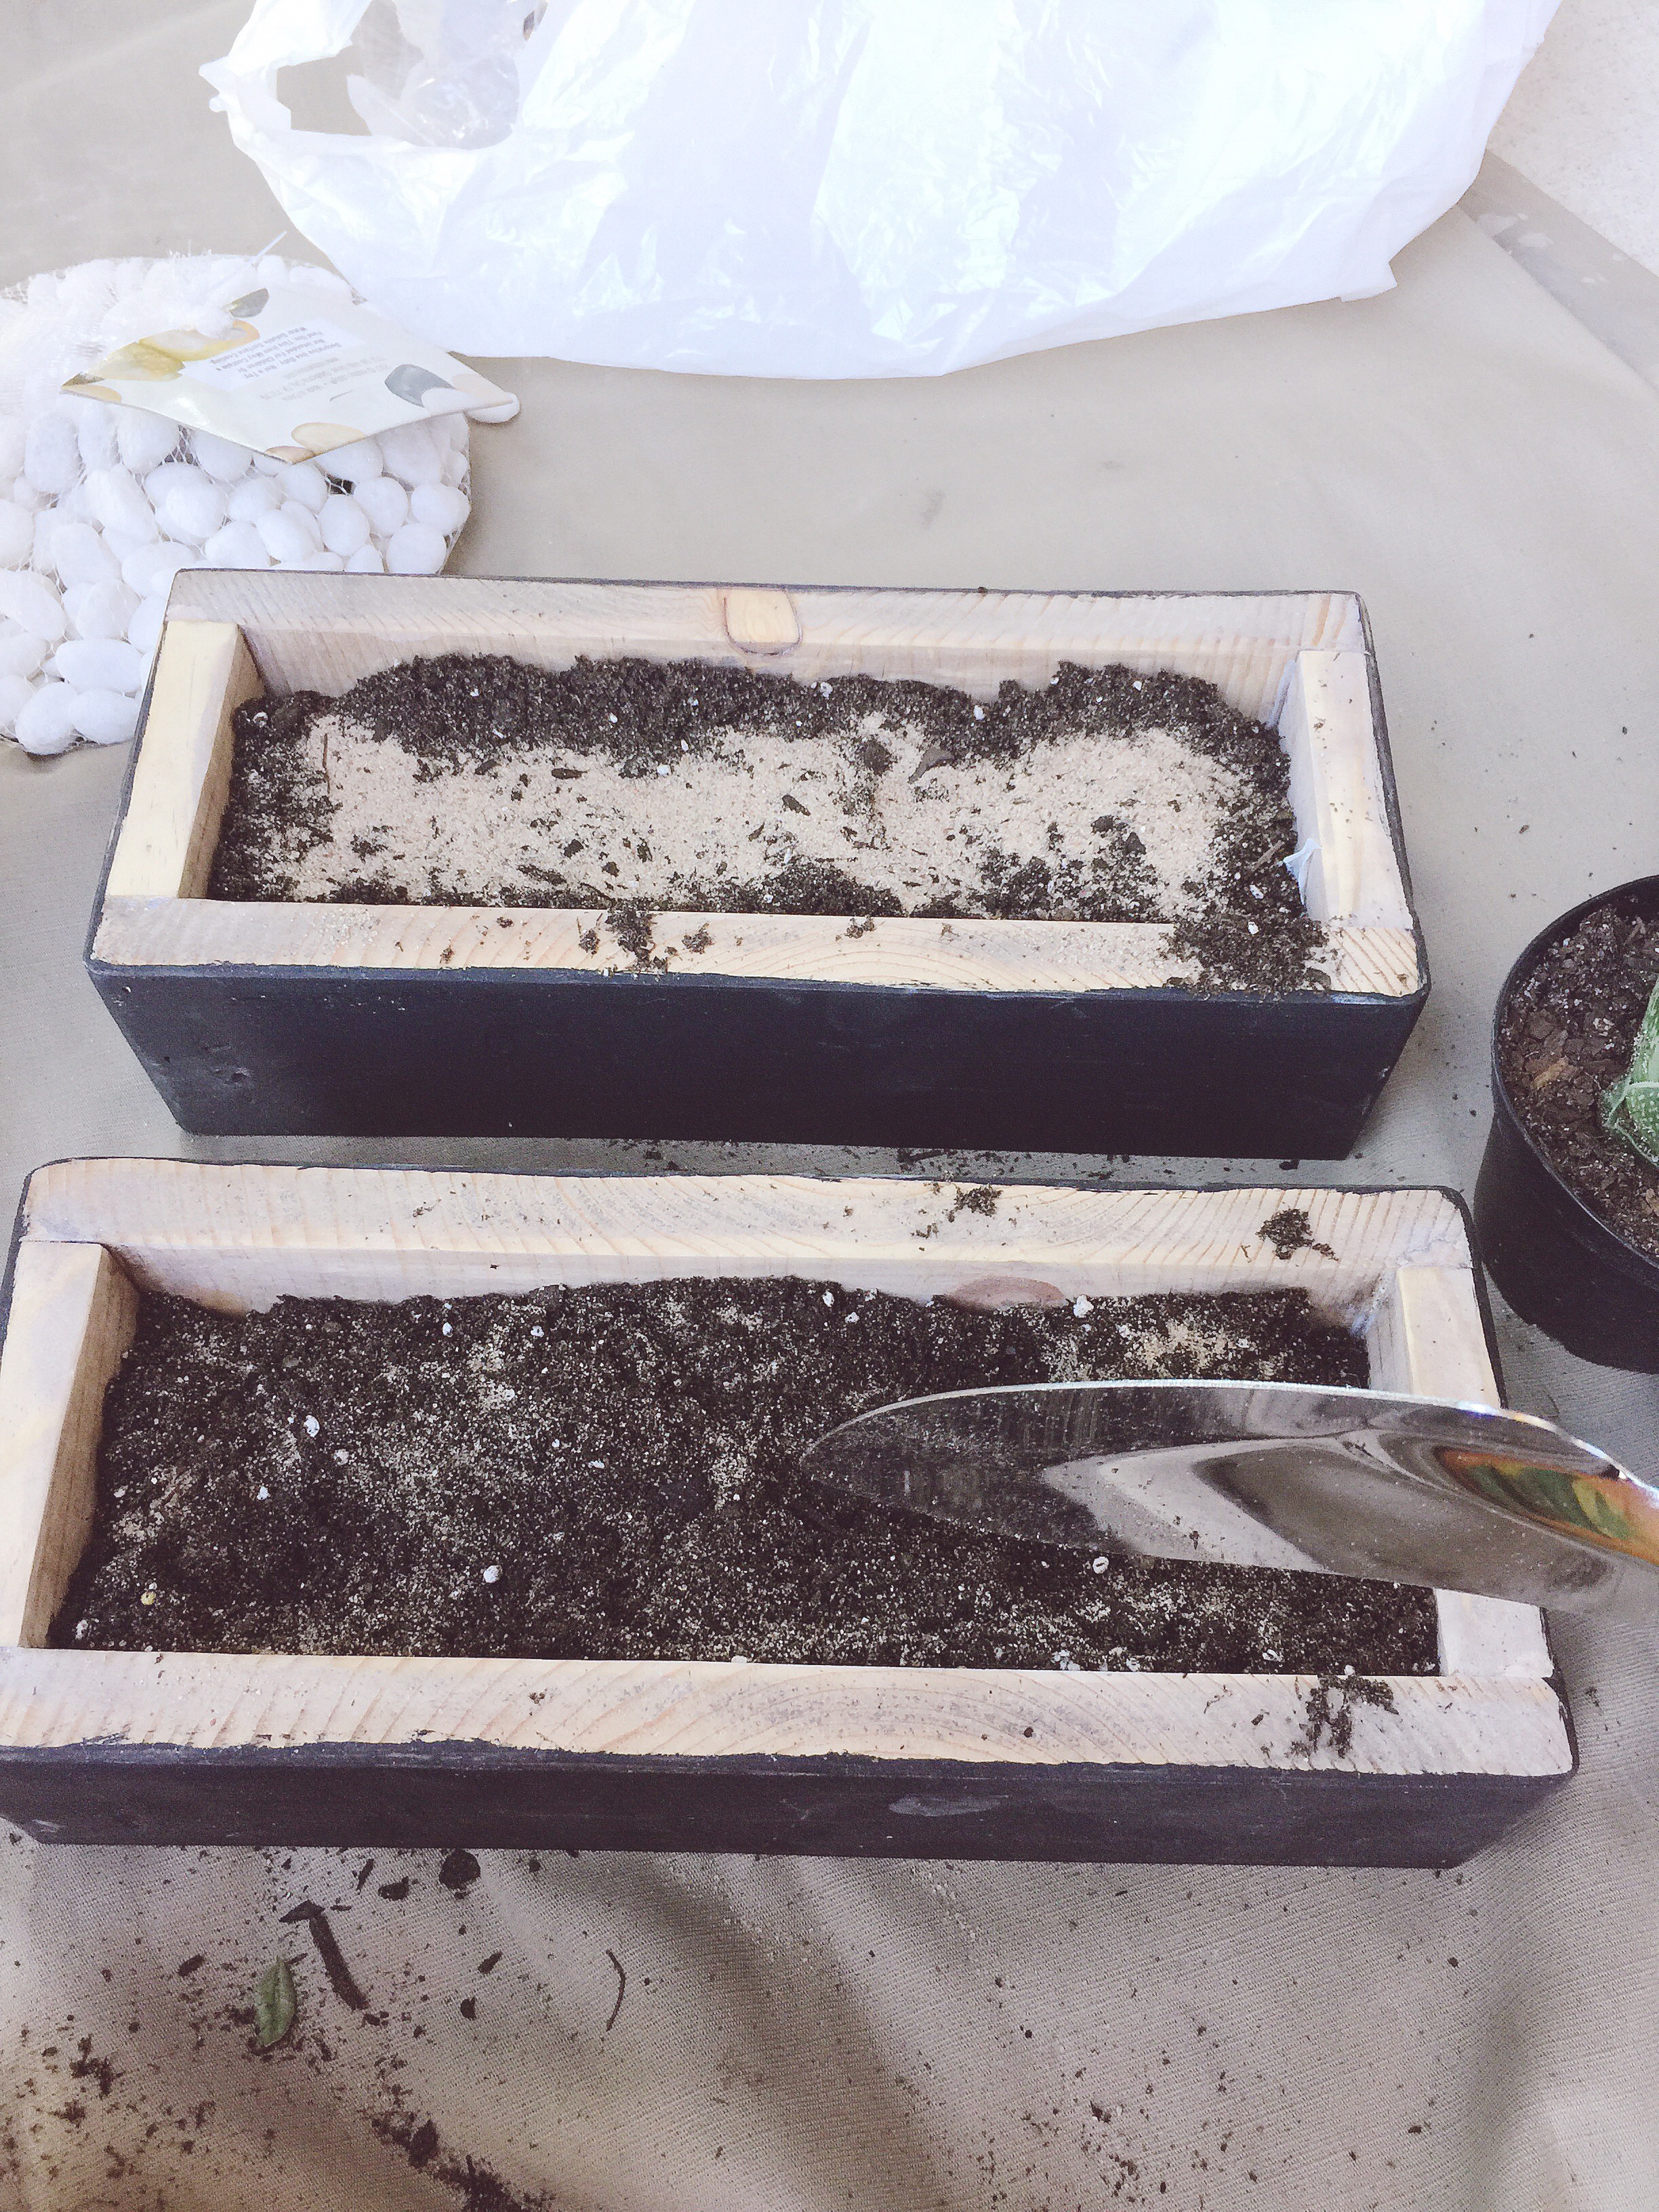
Step 7-Plant your succulents.
Making holes in the dirt, just enough to see the layer of rocks helped me get a deep enough space to plant. Succulents like to be above the planter with the roots buried. Planting them with the succulent above the planter is ideal because it keeps them from getting moist when watered. Remember, succulents are the happiest dry. So make sure you don’t plant them too deep.
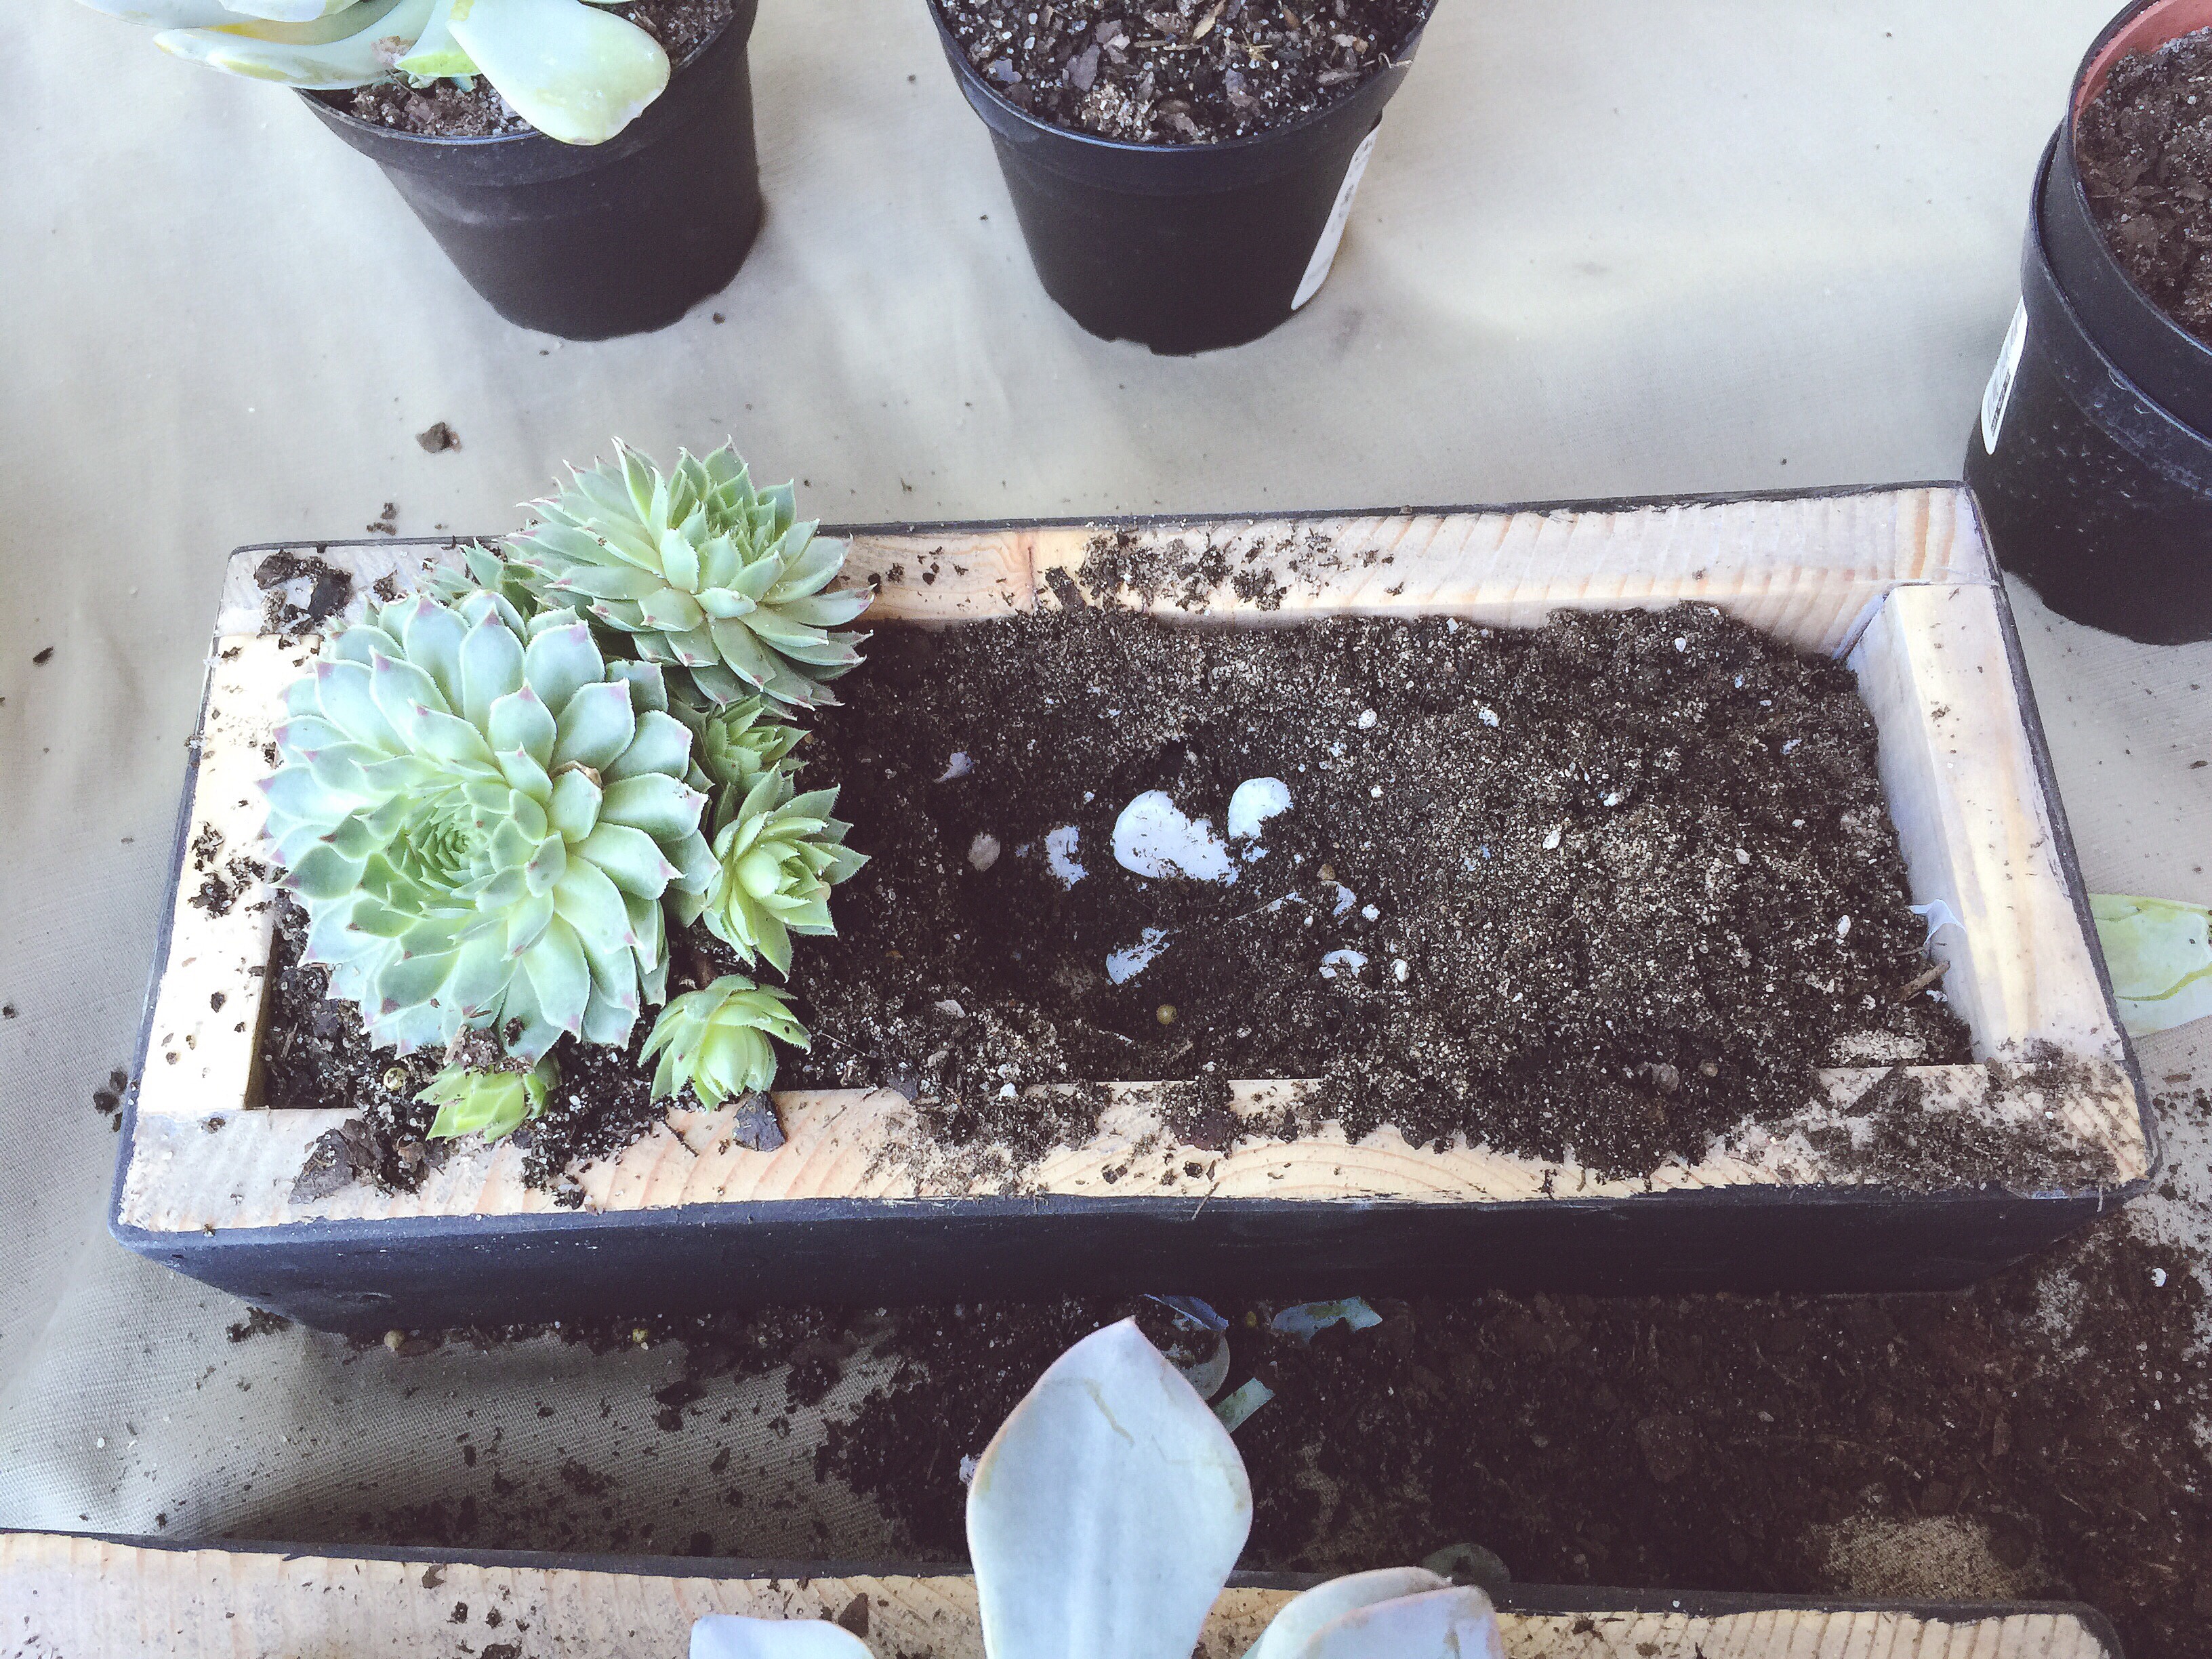

Step 8-Add more rocks, sand or whatever you’d like on the top of the dirt to give the planted succulents a finished look. This step is also not necessary, but isn’t it cute?

Caring for your succulents:
Here are a few key points and general rules I found on almost all of the websites I visited on caring for succulents…
- Do not water them often. Generally once every week and a half, or wait until the soil is completely dry before you adding more water. Their leaves retain water, so they can go longer between watering than the average plant.
- When you do water them, be generous.
- When watering, try to avoid putting water directly onto the plant.
- Preferably water just the soil. That’s why it’s recommended when planting them, plant the “leaves” above the soil so that they aren’t exposed to moist conditions for long periods of time.
- Give them lots of indirect sunlight.
- Succulents like to be hot in the day and cooler at night. So don’t worry about temperature changes if you keep them outside.
And that’s it!!! Hope this helps you make and keep your succulents happy!

Awesome article!!! It’s always nice to see a fellow succulent enthusiasts posts:)
LikeLiked by 1 person
Thank you!! Glad you liked it!
LikeLiked by 1 person
Really pretty…wonderful article…thank you!!!
LikeLiked by 1 person
You’re welcome!! Thank you!
LikeLiked by 1 person
😉
LikeLike